


No BS Guide to Keratin Treatment

ocdcel

ocdcel

Iron
Joined
May 16, 2025
Posts
233
Reputation
155
A keratin treatment is a semi-permanent protein coating that flattens the hair cuticle to reduce frizziness and add gloss. Unlike permanent relaxers, it doesn’t break down your hair’s internal bonds, so you’ll slowly revert to to your natural hair pattern after about 3–5 months. i can already smell the comments saying "b-but it damages your hair" Just remember: the actual “damage” comes from sealing it in with flat iron heat, so investing in a high quality iron and a sulfate-free shampoo is absolutely non-negotiable if you want to ensure your strands stay healthy.

individuals with frizzy, thick, curly, or damaged hair can benifit massively from keratin treatment whether its for straightening curly hair (if curly hair doesn't fir your face) or just eliminating frizz, and adding some shine.
The intention is not “straight hair” but rather manageability. Keratin is a semi-permanent barrier that locks out humidity, the number enemy of frizz. If you spend 45 minutes every morning battling a blow dryer, then this treatment aims to reduce that time by half and provide wash-and-go hair that actually remains smooth over the course of a day.

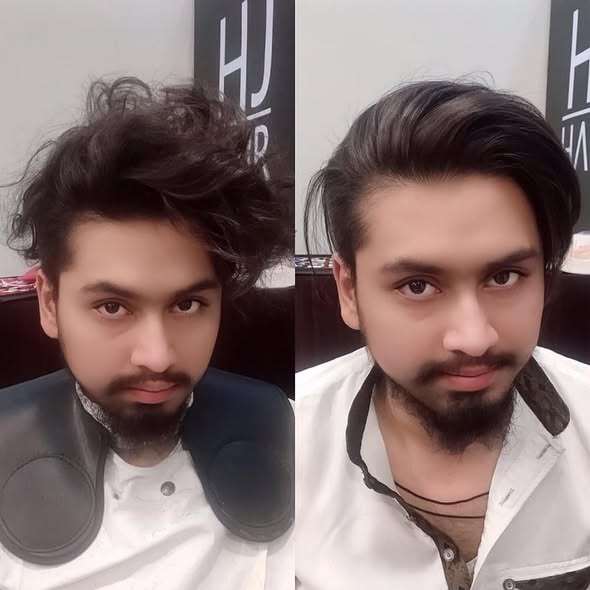
example of individuals who benefited from keratin treatment:

1772201671960

as you can see we have Pajeet over here whos a great candidate for a keratin treatment to fix his frizzy hair.


Best Keratin Treatment For Men in Dubai - Expert Hair Straightening

This gentleman demonstrates how a frizzy curly hair transformed into smooth, shiny straight hair.


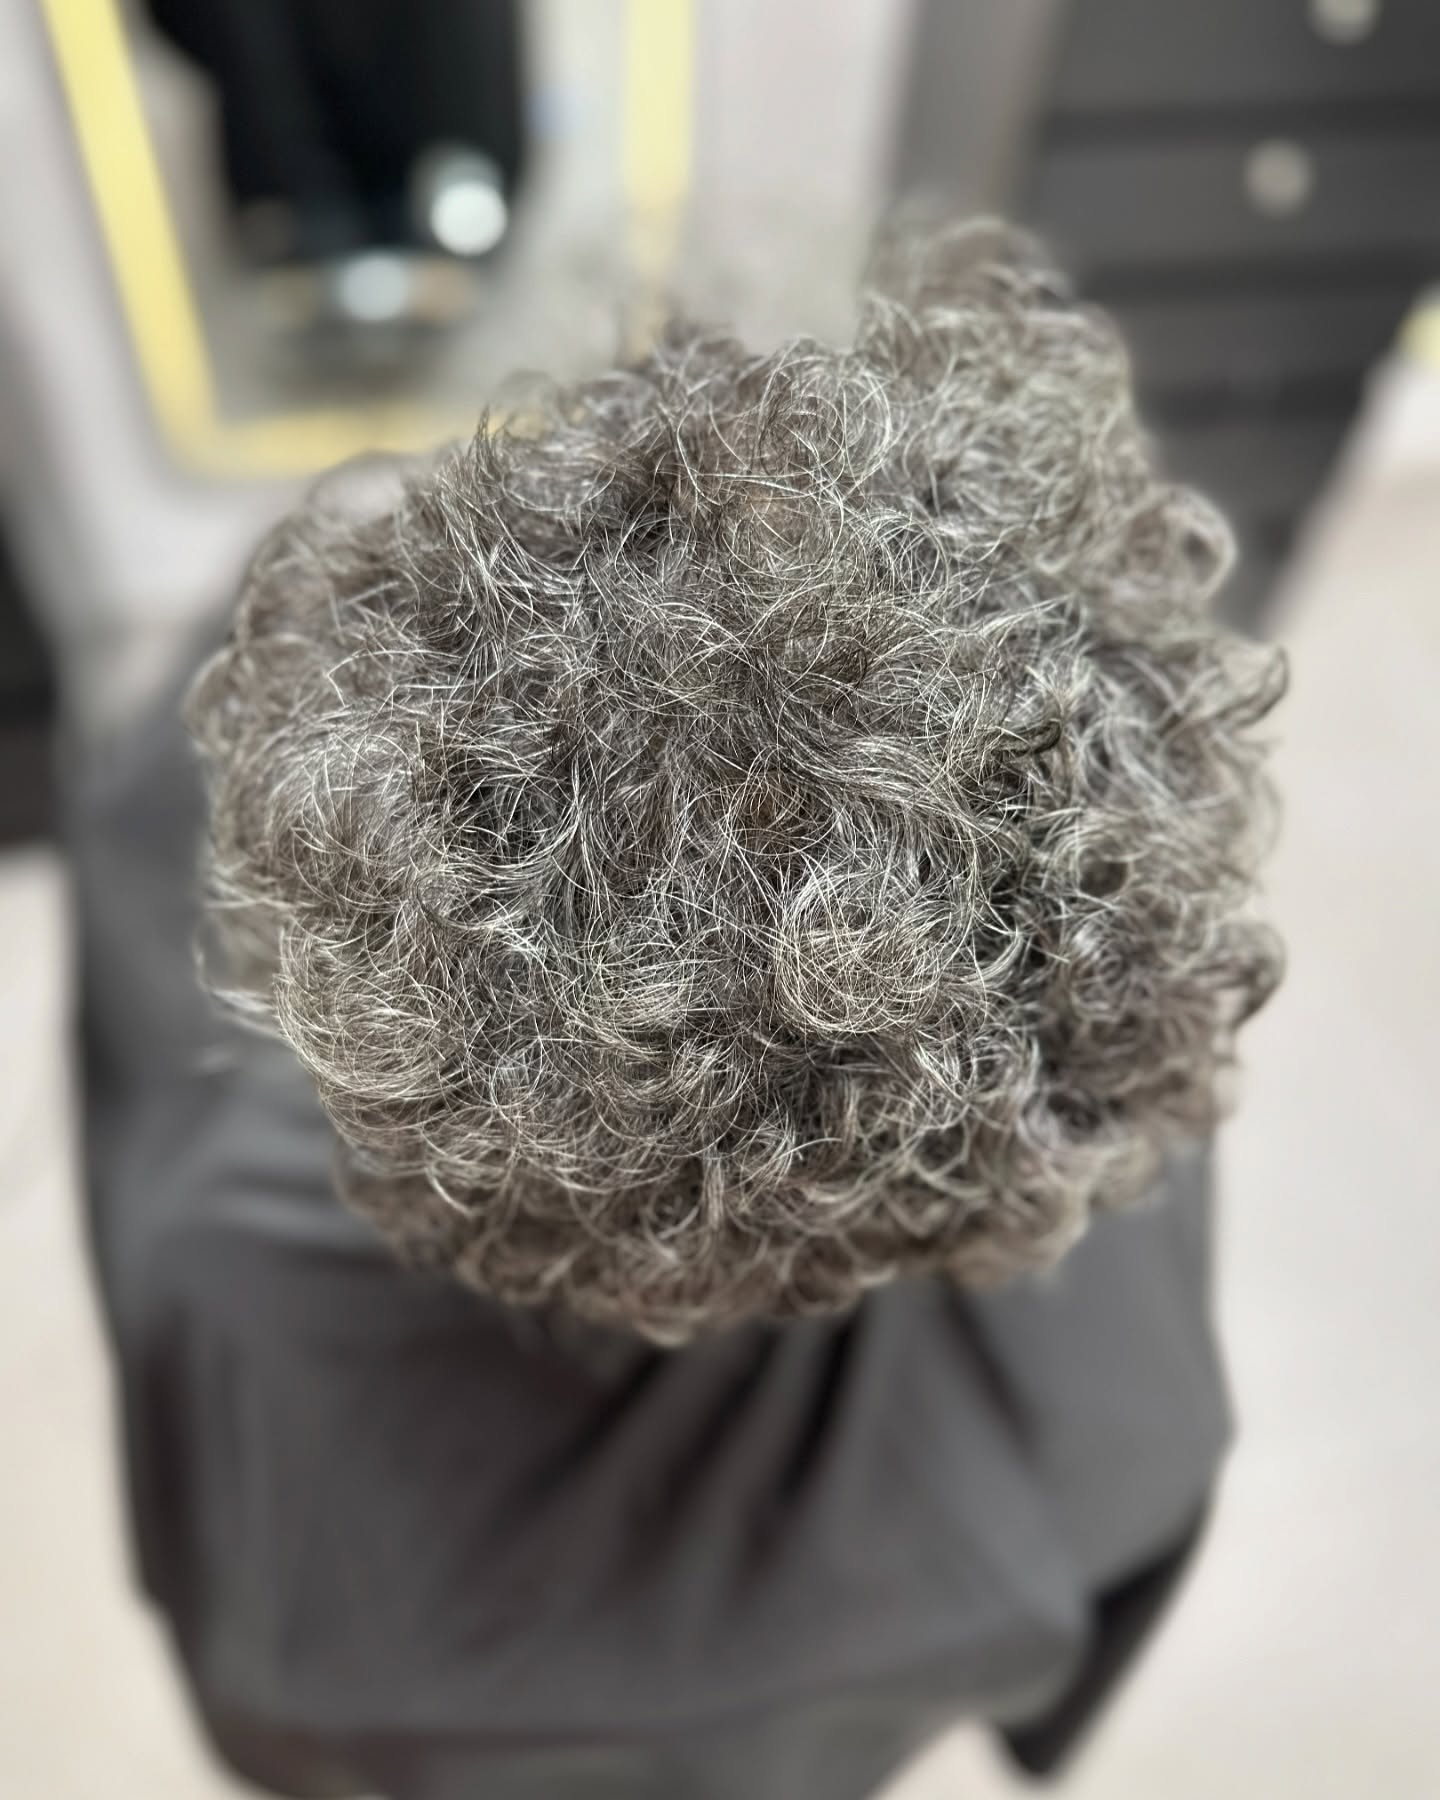
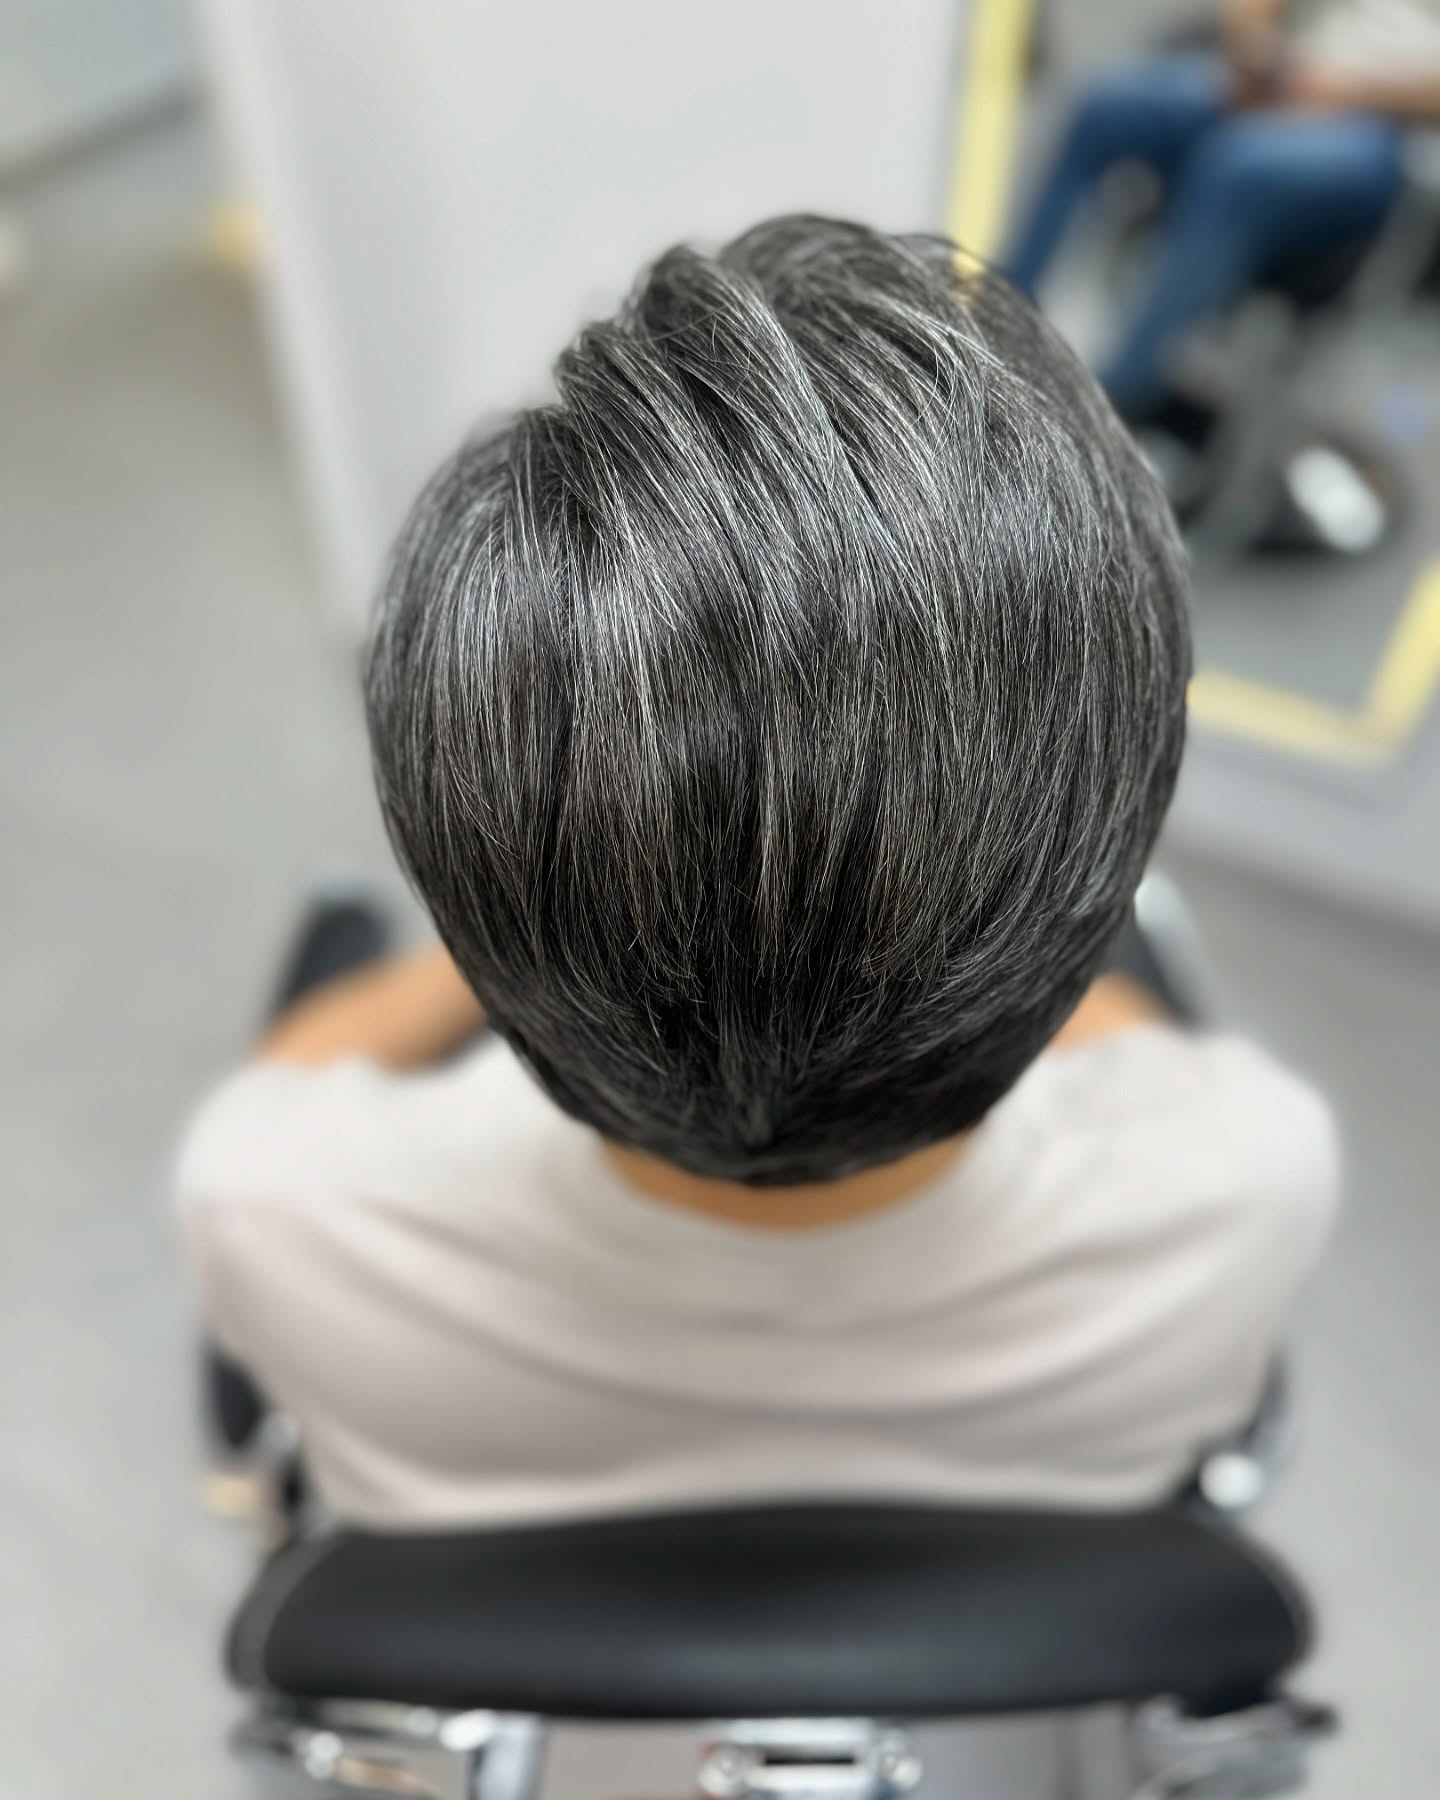
Another incredible transformation:

side:
1772202264332

1772202293191


back:
1772202376069

1772202396140

Why DIY Wins on Budget and Control:
The diffrence between a salon and DIY treatment boils down to convenience vs customization. Salons provide professional application, while DIY kits offer a personalized approach, ideal for maintaining a specific wave pattern rather than a pin straight look.
NOT ALL KERATIN TREATMENT NEED TO END WITH A 1A FLAT BORING HAIR.
DIY is a smart choice for those valuing texture over straightness, as salons charge a premium for a process that often eliminates volume.
at home, your in control allowing you to stop exactly when your curls have relaxed into your desired wave.
Beyond the results, the financial benefit is significant: after the initial investment in tools needed for the DIY, each subsequent treatment costs only $15-$45 in contrast to "Professionally done" averages any where between $200 to $450
Now, it seems DIY mogs then why am i even bringing up the "Professionally done route"?
to put it simply most of you guys lack the intellectual capability to perform such treatment on your own, It’s best to get it done at a salon first to see how it looks on you and understand the process.
but for those of you with a three digit IQ number I'll guide you through the essentials needed, process, and some of the science behind it.

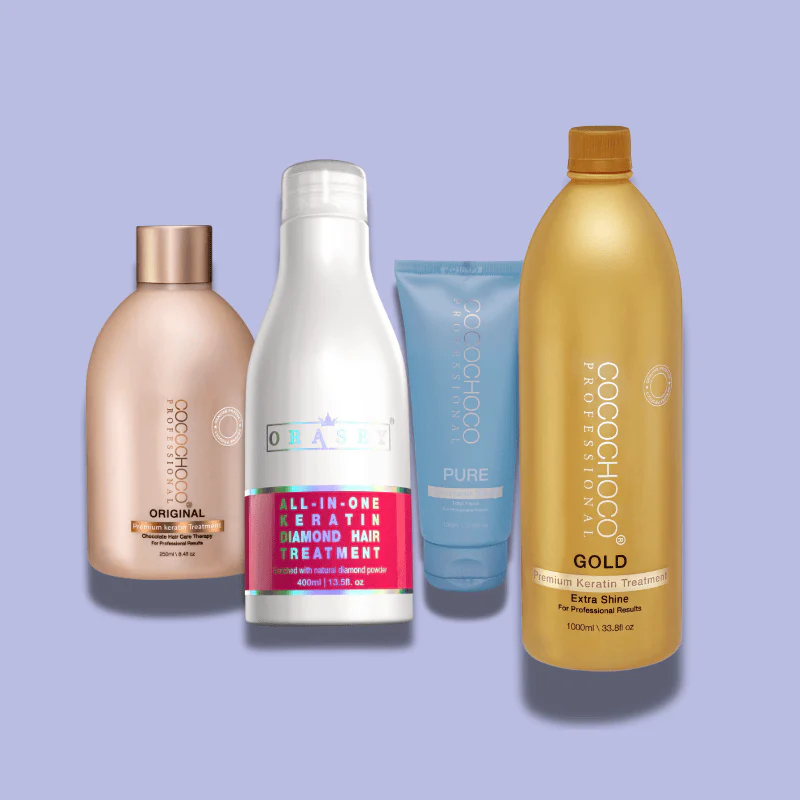
The Treatment Essentials:
1772204720733

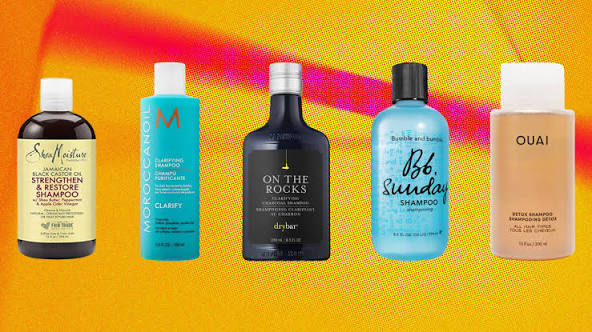
Clarifying Shampoo: This is a high-pH "pre-wash" that strips away oils and opens the hair cuticle so the keratin can actually bond to the strand. Do not use conditioner after this step.
cost: $10 - $40 per bottle


1772204897257

Keratin Treatment Solution: Look for "Formaldehyde-Free" for a safer experience.
cost: $150 - $400 note: this is for multiple treatments per bottle


NYK1 Salt & Sulfate Free Conditioner (500ml) Sulfate Liberia | Ubuy

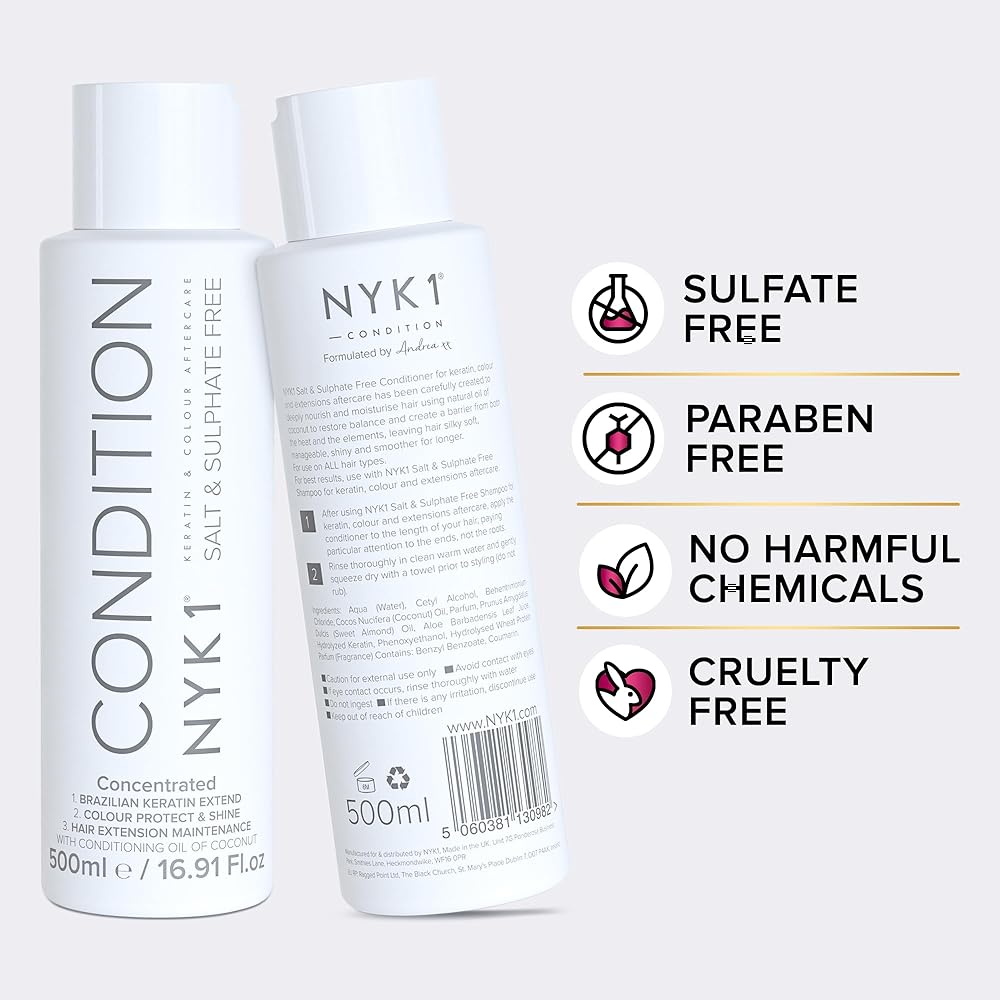
Sulfate & Salt-Free Aftercare: Post treatment, you must switch to a shampoo that contains no Sodium Chloride (salt) and no Sulfates, as these will dissolve the keratin coating.
cost: $15–$30
note: Please begin shampooing only after three days following the treatment.


The Application Toolkit:

30 qt White Plastic Mixing Bowl - 23 3/4Dia x 8 1/2H
Tint Brush - Evilhair

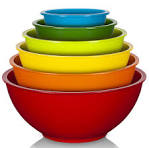
Mixing Bowl & Tint Brush:
To apply the solution precisely without making a mess.


Wide/Fine-Tooth Comb | Henna Color Lab® - Henna Hair Dye


Fine-Tooth Comb:Essential for "combing through" the product to remove excess, too much product can cause the hair to smoke or look greasy.

Buy at Best Price Online | Vega

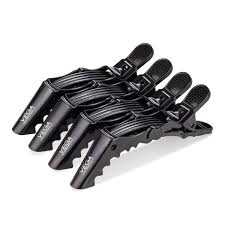
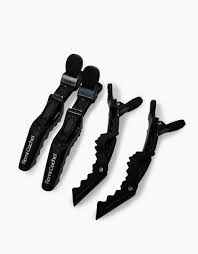
Sectioning Clips: You will need at least 4–6 clips to work in small, manageable layers.


DISPOSABLE NITRILE GLOVES (POWDER FREE ...

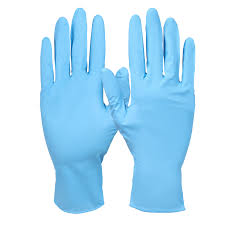
Safety Gear: Nitrile or plastic gloves to protect your hands from irritation.


The Power Tools:​


Amazon.com: BaBylissPRO Nano Titanium ...


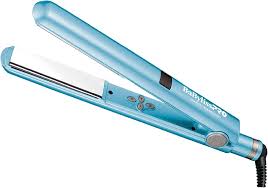
Professional Flat Iron: It must reach at least 400°F (200°C)
cost: $100–$150


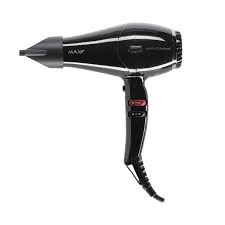
Max Pro Vortice Hair Dryer 2600W | Max ...

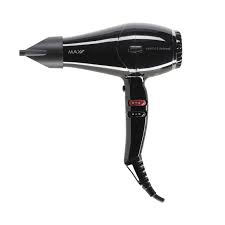
Hair Dryer: You will need to blow dry the hair until it is 100% dry after applying the solution but before flat ironing.
cost: $15 - $40


Step-by-Step DIY Process​

  1. Prep with Clarifying Shampoo: Wash your hair 2–3 times to strip away oils and open the cuticle; do not use conditioner.
  2. Rough Dry: Use your hair dryer to get your hair about 80% dry before applying any product.
  3. Apply Treatment: Use your mixing bowl and tint brush to paint the solution onto small sections, then use the fine-tooth comb to remove any excess liquid.
  4. Blow Dry 100%: Once the solution has sat for the recommended time (usually 30 mins), use the hair dryer again until the hair is completely bone-dry.
  5. The Precision Seal: Use your professional flat iron on thin, 1-inch sections. For waves, pass the iron only 3–5 times at 400°F; for straighter results, increase the passes and heat.
  6. The Waiting Period: Do not wet, clip, or tie your hair for the next 72

video tutorial:


nigga Just fucking read it ain't that hard
 

Attachments

  • 1772205640350.jpeg
    1772205640350.jpeg
    5.1 KB · Views: 0
  • 1772205891032.jpeg
    1772205891032.jpeg
    5.2 KB · Views: 0
  • 1772206312794.jpeg
    1772206312794.jpeg
    3.6 KB · Views: 0
  • +1
  • Love it
Reactions: htnofdoom, Sorero, Timeuntl01062027 and 7 others
A keratin treatment is a semi-permanent protein coating that flattens the hair cuticle to reduce frizziness and add gloss. Unlike permanent relaxers, it doesn’t break down your hair’s internal bonds, so you’ll slowly revert to to your natural hair pattern after about 3–5 months. i can already smell the comments saying "b-but it damages your hair" Just remember: the actual “damage” comes from sealing it in with flat iron heat, so investing in a high quality iron and a sulfate-free shampoo is absolutely non-negotiable if you want to ensure your strands stay healthy.

individuals with frizzy, thick, curly, or damaged hair can benifit massively from keratin treatment whether its for straightening curly hair (if curly hair doesn't fir your face) or just eliminating frizz, and adding some shine.
The intention is not “straight hair” but rather manageability. Keratin is a semi-permanent barrier that locks out humidity, the number enemy of frizz. If you spend 45 minutes every morning battling a blow dryer, then this treatment aims to reduce that time by half and provide wash-and-go hair that actually remains smooth over the course of a day.

example of individuals who benefited from keratin treatment:

View attachment 4704503

as you can see we have Pajeet over here whos a great candidate for a keratin treatment to fix his frizzy hair.


Best Keratin Treatment For Men in Dubai - Expert Hair Straightening

This gentleman demonstrates how a frizzy curly hair transformed into smooth, shiny straight hair.


Another incredible transformation:

side:
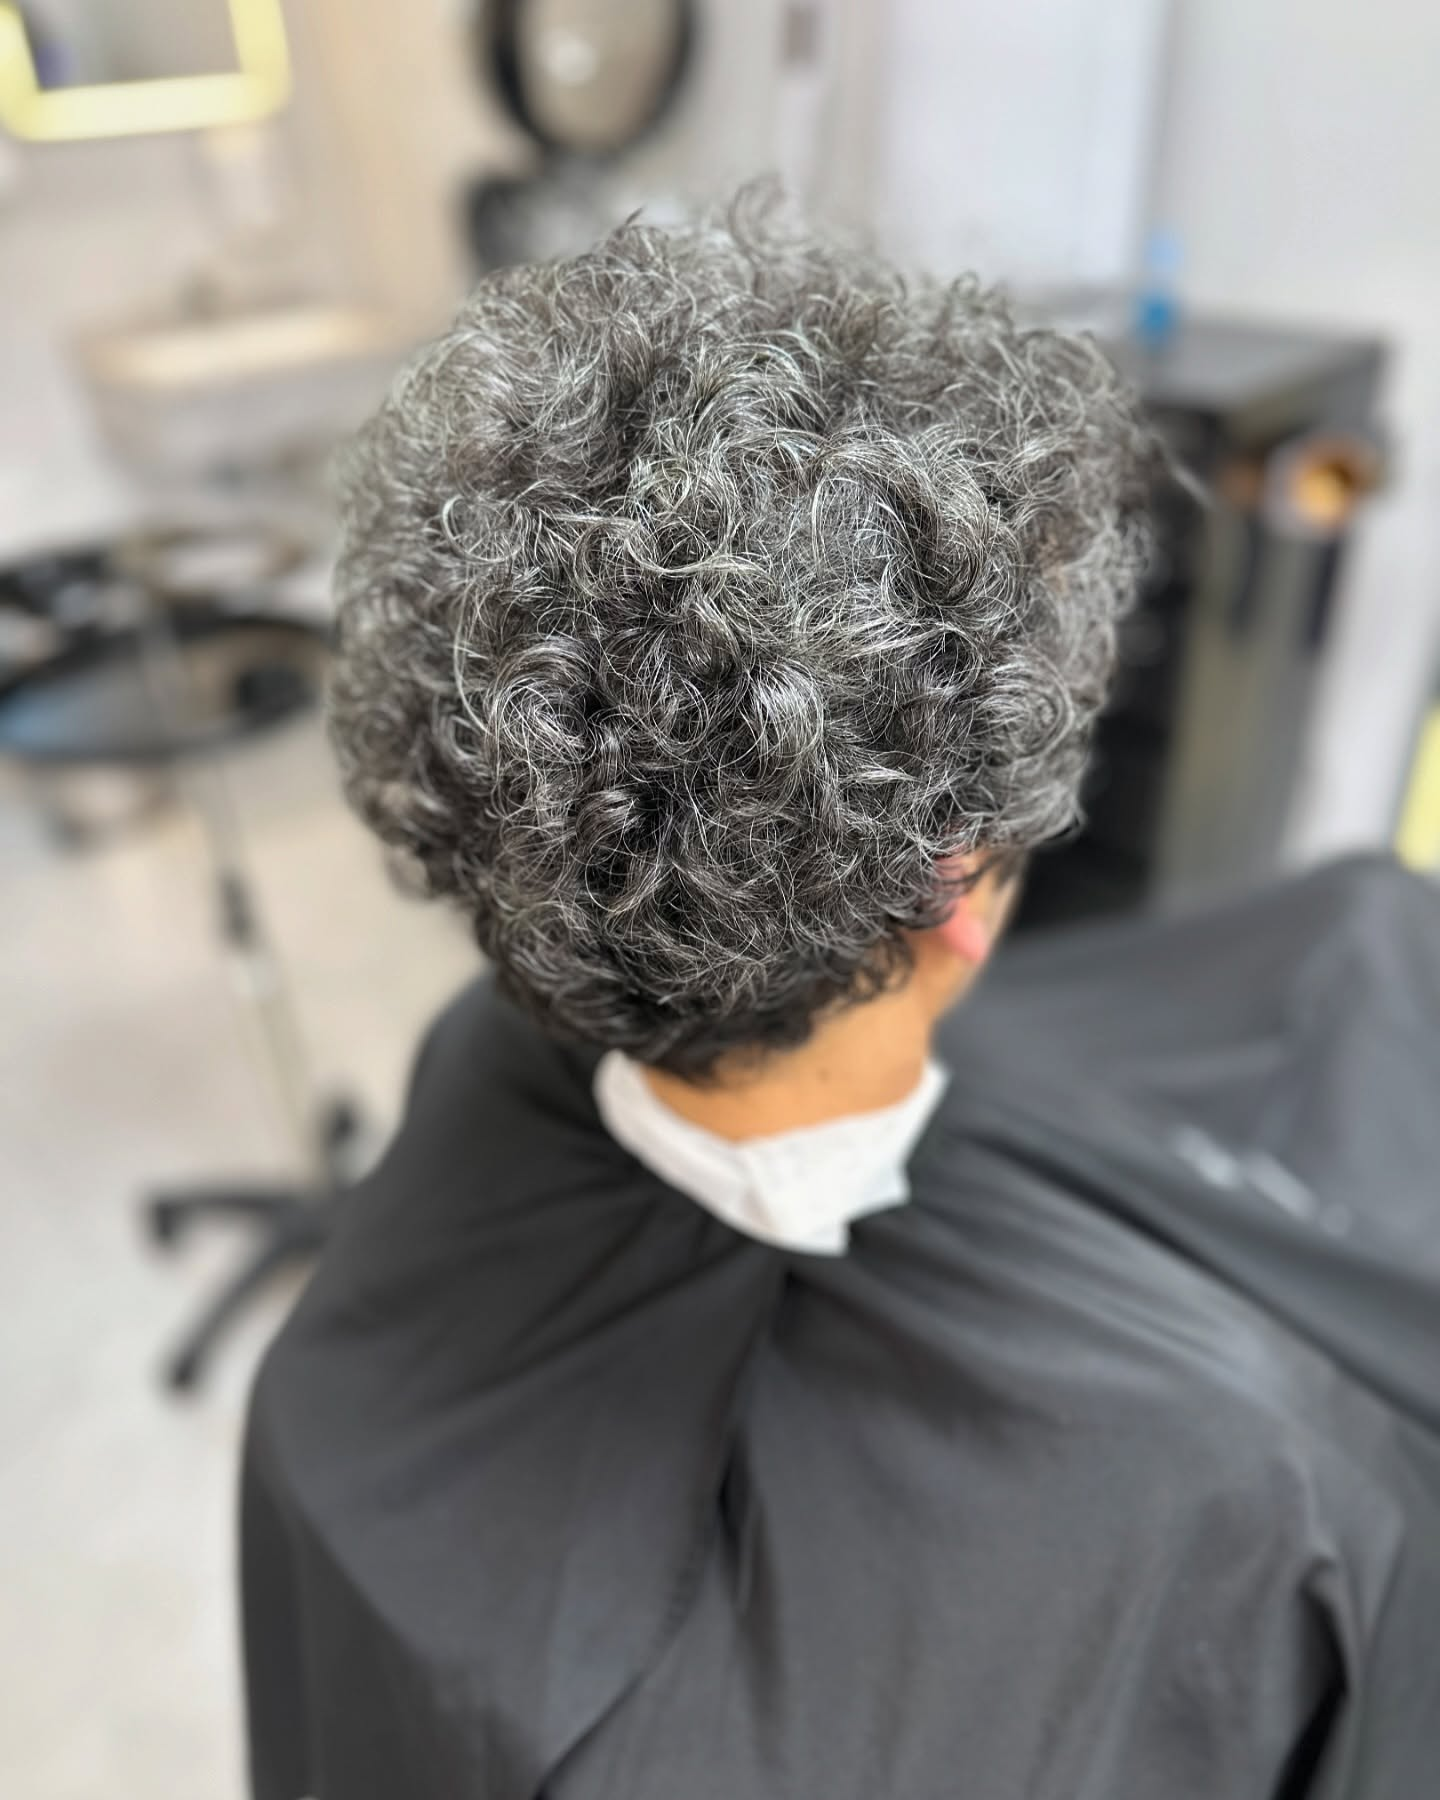
View attachment 4704518
View attachment 4704521

back:
View attachment 4704531
View attachment 4704536

Why DIY Wins on Budget and Control:
The diffrence between a salon and DIY treatment boils down to convenience vs customization. Salons provide professional application, while DIY kits offer a personalized approach, ideal for maintaining a specific wave pattern rather than a pin straight look.
NOT ALL KERATIN TREATMENT NEED TO END WITH A 1A FLAT BORING HAIR.
DIY is a smart choice for those valuing texture over straightness, as salons charge a premium for a process that often eliminates volume.
at home, your in control allowing you to stop exactly when your curls have relaxed into your desired wave.
Beyond the results, the financial benefit is significant: after the initial investment in tools needed for the DIY, each subsequent treatment costs only $15-$45 in contrast to "Professionally done" averages any where between $200 to $450
Now, it seems DIY mogs then why am i even bringing up the "Professionally done route"?
to put it simply most of you guys lack the intellectual capability to perform such treatment on your own, It’s best to get it done at a salon first to see how it looks on you and understand the process.
but for those of you with a three digit IQ number I'll guide you through the essentials needed, process, and some of the science behind it.

The Treatment Essentials:
View attachment 4704636
Clarifying Shampoo: This is a high-pH "pre-wash" that strips away oils and opens the hair cuticle so the keratin can actually bond to the strand. Do not use conditioner after this step.
cost: $10 - $40 per bottle


View attachment 4704638
Keratin Treatment Solution: Look for "Formaldehyde-Free" for a safer experience.
cost: $150 - $400 note: this is for multiple treatments per bottle


NYK1 Salt & Sulfate Free Conditioner (500ml) Sulfate Liberia | Ubuy

Sulfate & Salt-Free Aftercare: Post treatment, you must switch to a shampoo that contains no Sodium Chloride (salt) and no Sulfates, as these will dissolve the keratin coating.
cost: $15–$30
note: Please begin shampooing only after three days following the treatment.


The Application Toolkit:

View attachment 4704660View attachment 4704662
Mixing Bowl & Tint Brush:
To apply the solution precisely without making a mess.


View attachment 4704659

Fine-Tooth Comb:Essential for "combing through" the product to remove excess, too much product can cause the hair to smoke or look greasy.

View attachment 4704669
Sectioning Clips: You will need at least 4–6 clips to work in small, manageable layers.


View attachment 4704674
Safety Gear: Nitrile or plastic gloves to protect your hands from irritation.


The Power Tools:​


View attachment 4704682

Professional Flat Iron: It must reach at least 400°F (200°C)
cost: $100–$150


View attachment 4704692
Hair Dryer: You will need to blow dry the hair until it is 100% dry after applying the solution but before flat ironing.
cost: $15 - $40


Step-by-Step DIY Process​

  1. Prep with Clarifying Shampoo: Wash your hair 2–3 times to strip away oils and open the cuticle; do not use conditioner.
  2. Rough Dry: Use your hair dryer to get your hair about 80% dry before applying any product.
  3. Apply Treatment: Use your mixing bowl and tint brush to paint the solution onto small sections, then use the fine-tooth comb to remove any excess liquid.
  4. Blow Dry 100%: Once the solution has sat for the recommended time (usually 30 mins), use the hair dryer again until the hair is completely bone-dry.
  5. The Precision Seal: Use your professional flat iron on thin, 1-inch sections. For waves, pass the iron only 3–5 times at 400°F; for straighter results, increase the passes and heat.
  6. The Waiting Period: Do not wet, clip, or tie your hair for the next 72

video tutorial:


nigga Just fucking read it ain't that hard

DNR
I got natural 1b hair
 
  • +1
Reactions: Whatsamaxilla__
Actually good
 
  • +1
Reactions: xyzchud and ocdcel
A keratin treatment is a semi-permanent protein coating that flattens the hair cuticle to reduce frizziness and add gloss. Unlike permanent relaxers, it doesn’t break down your hair’s internal bonds, so you’ll slowly revert to to your natural hair pattern after about 3–5 months. i can already smell the comments saying "b-but it damages your hair" Just remember: the actual “damage” comes from sealing it in with flat iron heat, so investing in a high quality iron and a sulfate-free shampoo is absolutely non-negotiable if you want to ensure your strands stay healthy.

individuals with frizzy, thick, curly, or damaged hair can benifit massively from keratin treatment whether its for straightening curly hair (if curly hair doesn't fir your face) or just eliminating frizz, and adding some shine.
The intention is not “straight hair” but rather manageability. Keratin is a semi-permanent barrier that locks out humidity, the number enemy of frizz. If you spend 45 minutes every morning battling a blow dryer, then this treatment aims to reduce that time by half and provide wash-and-go hair that actually remains smooth over the course of a day.

example of individuals who benefited from keratin treatment:

View attachment 4704503

as you can see we have Pajeet over here whos a great candidate for a keratin treatment to fix his frizzy hair.


Best Keratin Treatment For Men in Dubai - Expert Hair Straightening

This gentleman demonstrates how a frizzy curly hair transformed into smooth, shiny straight hair.


Another incredible transformation:

side:
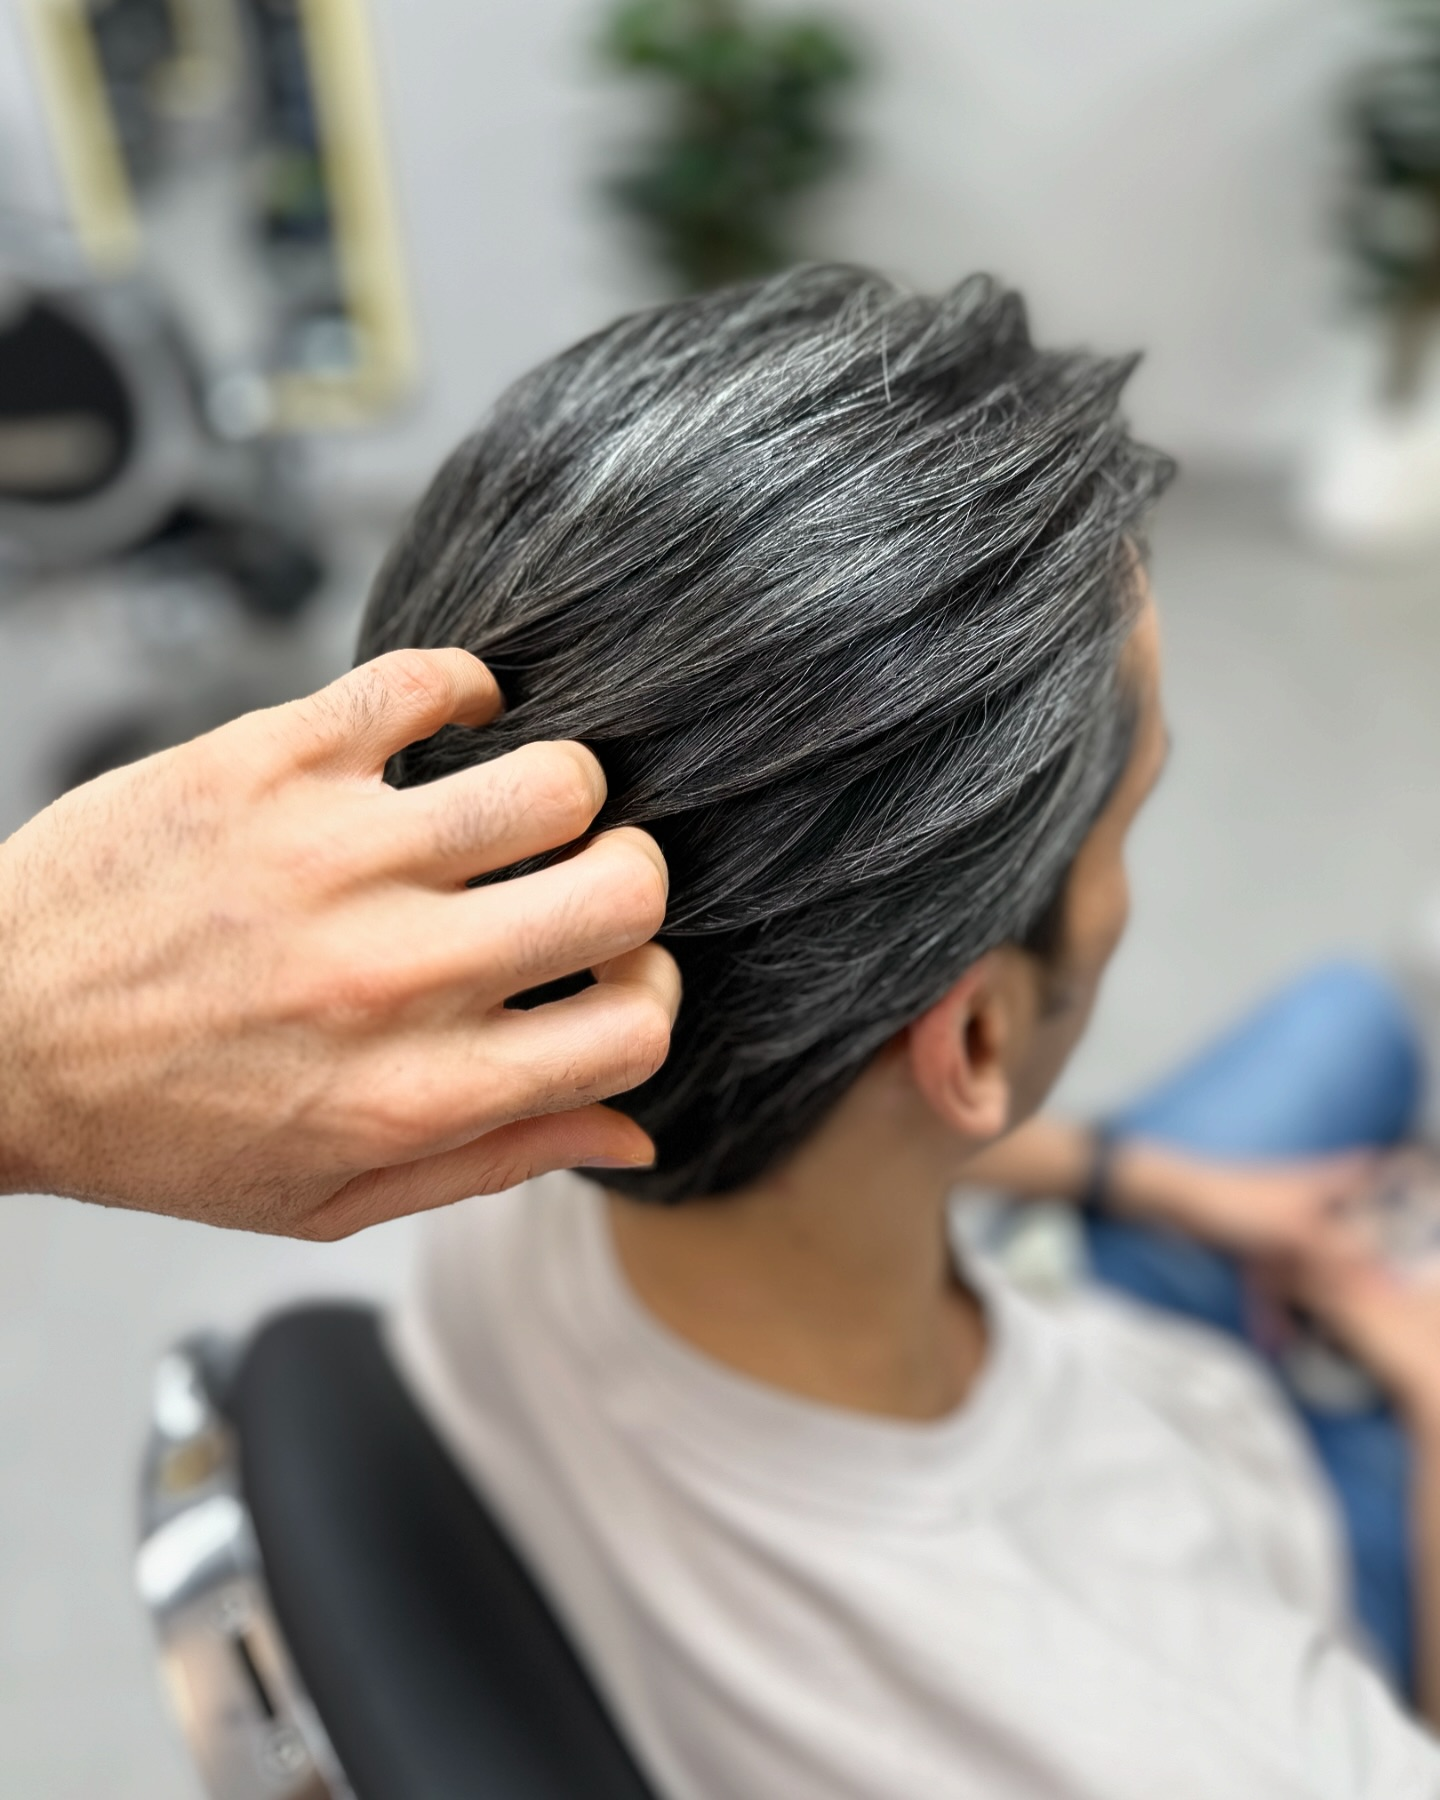
View attachment 4704518
View attachment 4704521

back:
View attachment 4704531
View attachment 4704536

Why DIY Wins on Budget and Control:
The diffrence between a salon and DIY treatment boils down to convenience vs customization. Salons provide professional application, while DIY kits offer a personalized approach, ideal for maintaining a specific wave pattern rather than a pin straight look.
NOT ALL KERATIN TREATMENT NEED TO END WITH A 1A FLAT BORING HAIR.
DIY is a smart choice for those valuing texture over straightness, as salons charge a premium for a process that often eliminates volume.
at home, your in control allowing you to stop exactly when your curls have relaxed into your desired wave.
Beyond the results, the financial benefit is significant: after the initial investment in tools needed for the DIY, each subsequent treatment costs only $15-$45 in contrast to "Professionally done" averages any where between $200 to $450
Now, it seems DIY mogs then why am i even bringing up the "Professionally done route"?
to put it simply most of you guys lack the intellectual capability to perform such treatment on your own, It’s best to get it done at a salon first to see how it looks on you and understand the process.
but for those of you with a three digit IQ number I'll guide you through the essentials needed, process, and some of the science behind it.

The Treatment Essentials:
View attachment 4704636
Clarifying Shampoo: This is a high-pH "pre-wash" that strips away oils and opens the hair cuticle so the keratin can actually bond to the strand. Do not use conditioner after this step.
cost: $10 - $40 per bottle


View attachment 4704638
Keratin Treatment Solution: Look for "Formaldehyde-Free" for a safer experience.
cost: $150 - $400 note: this is for multiple treatments per bottle


NYK1 Salt & Sulfate Free Conditioner (500ml) Sulfate Liberia | Ubuy

Sulfate & Salt-Free Aftercare: Post treatment, you must switch to a shampoo that contains no Sodium Chloride (salt) and no Sulfates, as these will dissolve the keratin coating.
cost: $15–$30
note: Please begin shampooing only after three days following the treatment.


The Application Toolkit:

View attachment 4704660View attachment 4704662
Mixing Bowl & Tint Brush:
To apply the solution precisely without making a mess.


View attachment 4704659

Fine-Tooth Comb:Essential for "combing through" the product to remove excess, too much product can cause the hair to smoke or look greasy.

View attachment 4704669
Sectioning Clips: You will need at least 4–6 clips to work in small, manageable layers.


View attachment 4704674
Safety Gear: Nitrile or plastic gloves to protect your hands from irritation.


The Power Tools:​


View attachment 4704682

Professional Flat Iron: It must reach at least 400°F (200°C)
cost: $100–$150


View attachment 4704692
Hair Dryer: You will need to blow dry the hair until it is 100% dry after applying the solution but before flat ironing.
cost: $15 - $40


Step-by-Step DIY Process​

  1. Prep with Clarifying Shampoo: Wash your hair 2–3 times to strip away oils and open the cuticle; do not use conditioner.
  2. Rough Dry: Use your hair dryer to get your hair about 80% dry before applying any product.
  3. Apply Treatment: Use your mixing bowl and tint brush to paint the solution onto small sections, then use the fine-tooth comb to remove any excess liquid.
  4. Blow Dry 100%: Once the solution has sat for the recommended time (usually 30 mins), use the hair dryer again until the hair is completely bone-dry.
  5. The Precision Seal: Use your professional flat iron on thin, 1-inch sections. For waves, pass the iron only 3–5 times at 400°F; for straighter results, increase the passes and heat.
  6. The Waiting Period: Do not wet, clip, or tie your hair for the next 72

video tutorial:


nigga Just fucking read it ain't that hard

dnr im bald
 
  • +1
Reactions: ocdcel
the before and afters are just textured hair turning into smooth shiny surfaces
you turned a normal looking dude into an oily looking pedophile
 
the before and afters are just textured hair turning into smooth shiny surfaces
you turned a normal looking dude into an oily looking pedophile
the hairs are not textured they are severly frizzy and damaged and as i said you dont have to completely flatten the hair rather control them to your desired wave, tho usually salons just do the process until you have 1a untextured hair
 
  • +1
Reactions: bibiprocházka271
how do u not make it pin straight w diy? i want wavy like 2a hair, ive got 3c.
 
we all are 🙏
Have 4A hair, A ton of hair. Could I benefit from this? I do NOT want straight hair, may looser curls. What'd be the protocol for this, family friend owns a salon and would do it for free. How long would I leave it after to attain my desired results?
 
Have 4A hair, A ton of hair. Could I benefit from this? I do NOT want straight hair, may looser curls.
yeah you could def benifit from this, and yes you can get looser curles with this, this is what im hopin to achive tho im doing it at home.

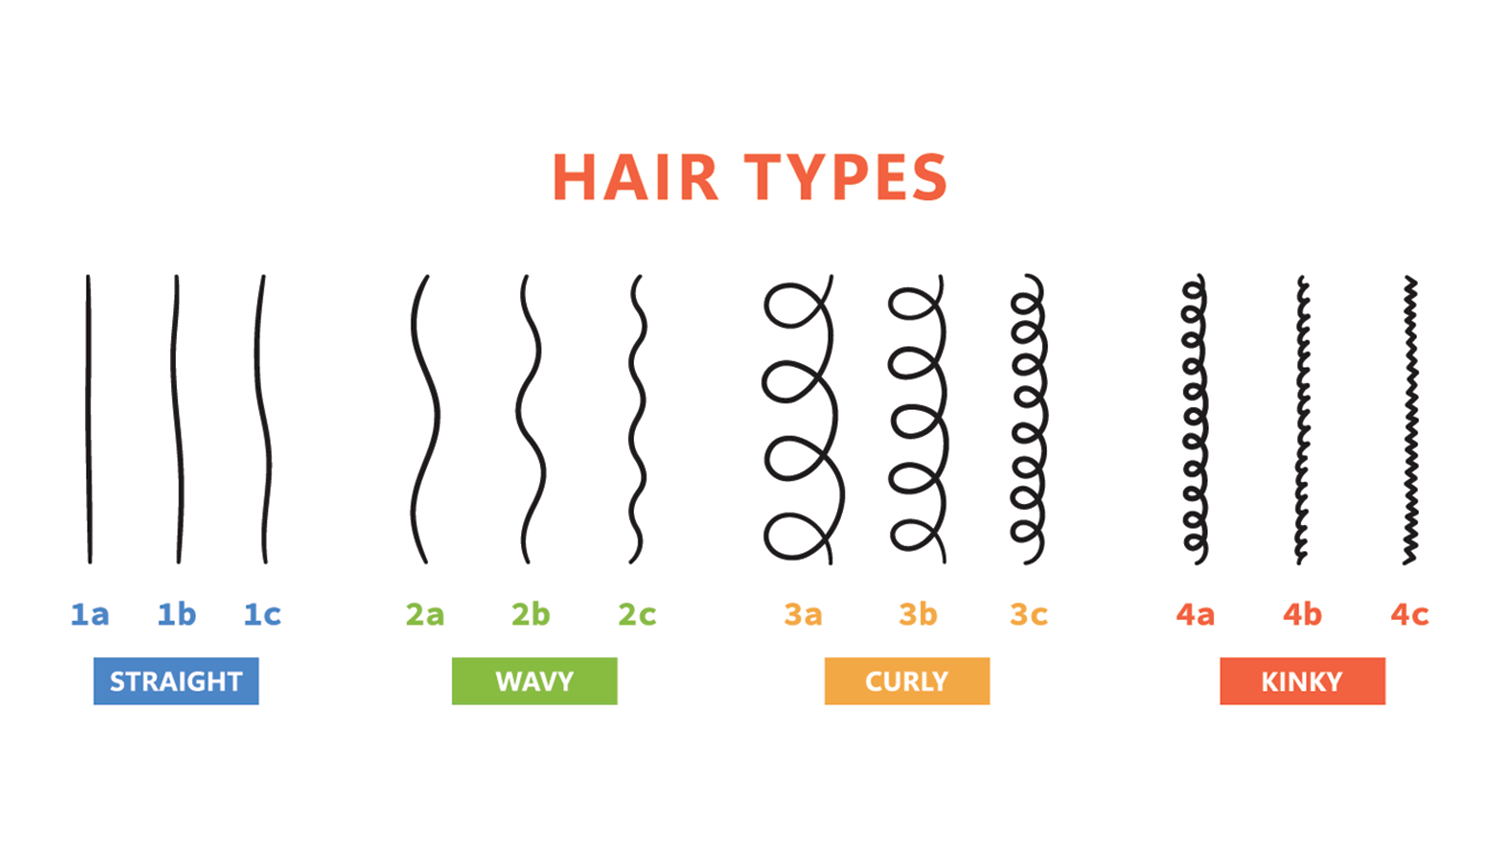
Look at the hair type chart:
it all depends on what is you're starting point and where you wanna get to, the treatment process is the same for all, but what makes the diffrence between going from 4a to 1a(pin straight hair), and you're desired look 4a to maybe 3a 3b, is the number and intensity of which you iron flat it, for example most people who do keratin treatment to achive straight hair, go over a strand of hair with the iron about 10-15 times, YOU DONT WANT THIS.

in my case im trying to go form 3b hair to a type that is more manageable like 2b/3a, so ill go over a strand about 3-5 times
1779263767884


How long would I leave it after to attain my desired results?
After getting the treatment -
DO NOT DO THIS FOR THE NEXT 72 HOURS!
dont wash your hair
dont put a cap, hat, helmet or anything that will sit on you're head
do not even pull your hair behind you're ears

after 72 hours u can fully wash and do everything back to normal.
Tho when you wash you're hair use only sulfate and sodium free shampoos.
 
I cannot afford to have pin straight hair for 72 hours. It would be be possibly the worst thing ever for my social life. Was thinking maybe 18 hours and no flat iron? My family friend only formeldahyde keratin treatments is that fine? I know that makes the straightening stronger which is probably not something I want in this scenario.
 
I cannot afford to have pin straight hair for 72 hours. It would be be possibly the worst thing ever for my social life. Was thinking maybe 18 hours and no flat iron? My family friend only formeldahyde keratin treatments is that fine? I know that makes the straightening stronger which is probably not something I want in this scenario.
i feel you bro, but this is the cost. it depends on the kit itself sometimes it can be 48 sometimes 72
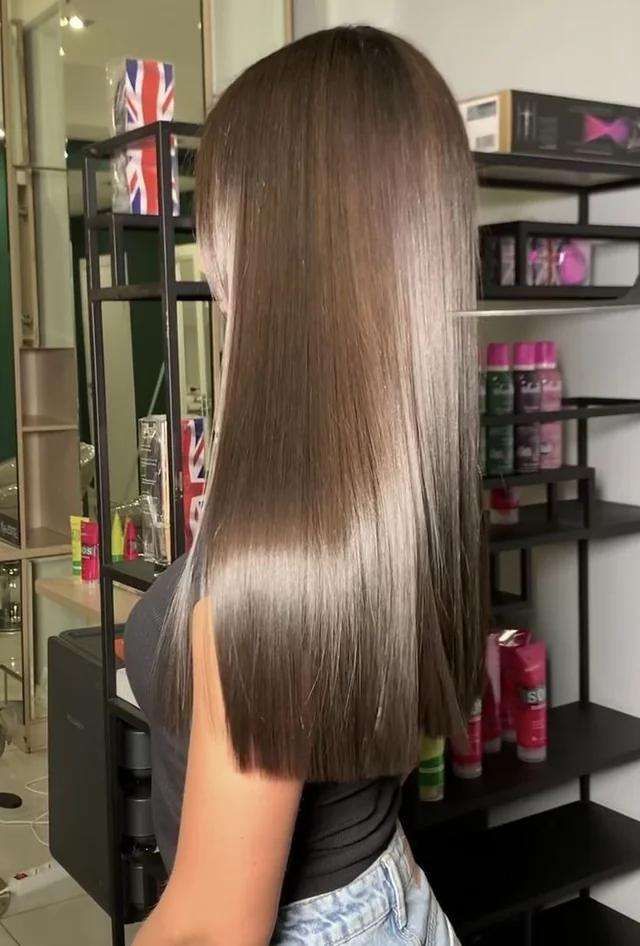
and keratin treatments that contain formeldahyde are bad, and contain risk for cancer. the whole market switched to formeldahyde free so im suprised she has this. if u can try to order yourself a formel free keratin kit and ask her to use this. and again its not about the straightening, at the end of the treatment your hair will look like this unfortuntly:


1779481389705


but its all about how many times you gone over a strand with the iron, after 48-72 hours you shampoo and you curles instantly pop to your desired look.
 
A keratin treatment is a semi-permanent protein coating that flattens the hair cuticle to reduce frizziness and add gloss. Unlike permanent relaxers, it doesn’t break down your hair’s internal bonds, so you’ll slowly revert to to your natural hair pattern after about 3–5 months. i can already smell the comments saying "b-but it damages your hair" Just remember: the actual “damage” comes from sealing it in with flat iron heat, so investing in a high quality iron and a sulfate-free shampoo is absolutely non-negotiable if you want to ensure your strands stay healthy.

individuals with frizzy, thick, curly, or damaged hair can benifit massively from keratin treatment whether its for straightening curly hair (if curly hair doesn't fir your face) or just eliminating frizz, and adding some shine.
The intention is not “straight hair” but rather manageability. Keratin is a semi-permanent barrier that locks out humidity, the number enemy of frizz. If you spend 45 minutes every morning battling a blow dryer, then this treatment aims to reduce that time by half and provide wash-and-go hair that actually remains smooth over the course of a day.

example of individuals who benefited from keratin treatment:

View attachment 4704503

as you can see we have Pajeet over here whos a great candidate for a keratin treatment to fix his frizzy hair.


Best Keratin Treatment For Men in Dubai - Expert Hair Straightening

This gentleman demonstrates how a frizzy curly hair transformed into smooth, shiny straight hair.


Another incredible transformation:

side:
View attachment 4704518
View attachment 4704521

back:
View attachment 4704531
View attachment 4704536

Why DIY Wins on Budget and Control:
The diffrence between a salon and DIY treatment boils down to convenience vs customization. Salons provide professional application, while DIY kits offer a personalized approach, ideal for maintaining a specific wave pattern rather than a pin straight look.
NOT ALL KERATIN TREATMENT NEED TO END WITH A 1A FLAT BORING HAIR.
DIY is a smart choice for those valuing texture over straightness, as salons charge a premium for a process that often eliminates volume.
at home, your in control allowing you to stop exactly when your curls have relaxed into your desired wave.
Beyond the results, the financial benefit is significant: after the initial investment in tools needed for the DIY, each subsequent treatment costs only $15-$45 in contrast to "Professionally done" averages any where between $200 to $450
Now, it seems DIY mogs then why am i even bringing up the "Professionally done route"?
to put it simply most of you guys lack the intellectual capability to perform such treatment on your own, It’s best to get it done at a salon first to see how it looks on you and understand the process.
but for those of you with a three digit IQ number I'll guide you through the essentials needed, process, and some of the science behind it.

The Treatment Essentials:
View attachment 4704636
Clarifying Shampoo: This is a high-pH "pre-wash" that strips away oils and opens the hair cuticle so the keratin can actually bond to the strand. Do not use conditioner after this step.
cost: $10 - $40 per bottle


View attachment 4704638
Keratin Treatment Solution: Look for "Formaldehyde-Free" for a safer experience.
cost: $150 - $400 note: this is for multiple treatments per bottle


NYK1 Salt & Sulfate Free Conditioner (500ml) Sulfate Liberia | Ubuy

Sulfate & Salt-Free Aftercare: Post treatment, you must switch to a shampoo that contains no Sodium Chloride (salt) and no Sulfates, as these will dissolve the keratin coating.
cost: $15–$30
note: Please begin shampooing only after three days following the treatment.


The Application Toolkit:

View attachment 4704660View attachment 4704662
Mixing Bowl & Tint Brush:
To apply the solution precisely without making a mess.


View attachment 4704659

Fine-Tooth Comb:Essential for "combing through" the product to remove excess, too much product can cause the hair to smoke or look greasy.

View attachment 4704669
Sectioning Clips: You will need at least 4–6 clips to work in small, manageable layers.


View attachment 4704674
Safety Gear: Nitrile or plastic gloves to protect your hands from irritation.


The Power Tools:​


View attachment 4704682

Professional Flat Iron: It must reach at least 400°F (200°C)
cost: $100–$150


View attachment 4704692
Hair Dryer: You will need to blow dry the hair until it is 100% dry after applying the solution but before flat ironing.
cost: $15 - $40


Step-by-Step DIY Process​

  1. Prep with Clarifying Shampoo: Wash your hair 2–3 times to strip away oils and open the cuticle; do not use conditioner.
  2. Rough Dry: Use your hair dryer to get your hair about 80% dry before applying any product.
  3. Apply Treatment: Use your mixing bowl and tint brush to paint the solution onto small sections, then use the fine-tooth comb to remove any excess liquid.
  4. Blow Dry 100%: Once the solution has sat for the recommended time (usually 30 mins), use the hair dryer again until the hair is completely bone-dry.
  5. The Precision Seal: Use your professional flat iron on thin, 1-inch sections. For waves, pass the iron only 3–5 times at 400°F; for straighter results, increase the passes and heat.
  6. The Waiting Period: Do not wet, clip, or tie your hair for the next 72

video tutorial:


nigga Just fucking read it ain't that hard
amazing bhai, depends if u use a glyoxylic acid at-home kit (+ keratin) which straightens hair under heat obviously but i heard if u use that u dont gotta wait 72h cuz its not a classic formaldehyde compound. mirin
 

Similar threads

LooksimENTER
Replies
9
Views
103
Fledermaus
Fledermaus
namemern
Replies
10
Views
60
Pandajbg
Pandajbg
jumo
Replies
15
Views
89
acac
acac
ajridrtfddddd
Replies
4
Views
51
eyearea75
eyearea75
T
Replies
12
Views
89
tryingtochadmaxx
T

Users who are viewing this thread

Back
Top
Sponsored
Stake.us
America's #1 Social Casino
Slots, Poker & More
Join Now →