AscendingHero
Opportunities dont happen, you create them
- Joined
- Mar 7, 2021
- Posts
- 12,105
- Reputation
- 19,638
@PrettyboyInb4 "muh h-homo", I am quite comfortable with my sexuality (straight) and know where I stand on gender scale (he/him). Please refer to me using my pronouns, its 2022 you can't assume. This guide will highlight how to use makeup in order to hide your subhuman boneless facial structure.
First Things First: What Are All These Products?
Whether you’ve totally mastered your everyday makeup look or you’re just beginning your makeup journey, most of you could use a refresher when it comes to what’s in the cosmetic case. Read comprehensive guide below.
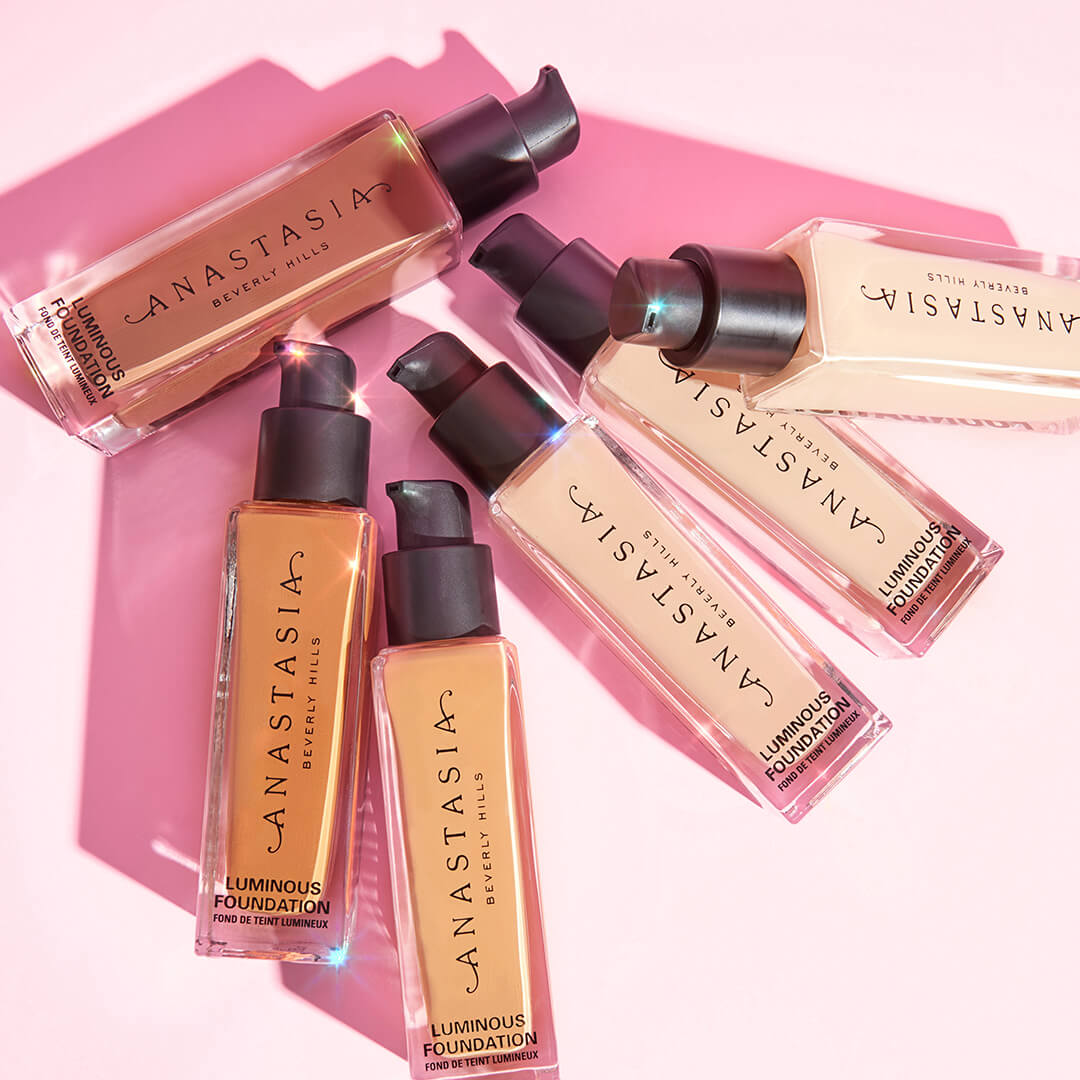
Complexion Products
- Primer: Primers come in gel, cream, or spray form and can create an even canvas for your makeup application by filling in fine lines and blurring large pores. The result? Your makeup glides on evenly, lasts longer, and doesn’t look cake-y.
- Foundation: Foundation can come as a liquid, cream, or powder, and is meant to even out your skin tone and smooth over imperfections. Unsure which formula is right for you? Check out our breakdown of powder and liquid foundation. Another factor to consider when choosing foundation is the coverage level you want. You can get foundations ranging from sheer coverage (like a skin tint or tinted moisturizer) to full coverage foundation.
- Concealer: Concealer is meant to add additional coverage over select areas, like dark circles, breakouts, acne scars, and more. Depending on the look you want to achieve, you can opt for a concealer with either a matte or dewy finish. Just like foundation, concealers offer varying levels of coverage. Want to know more? Here’s our guide on how to apply concealer.
- Highlighter and Contour: These two are the secret behind the perfectly chiseled faces we often see on celebs and influencers. “Contour colors always recede, meaning they will add depth, where highlighter brings that light forward,” says makeup artist Robert Sesnek. Together they add an overall dimension. Both highlighter and contour come in liquid, powder, and cream formulas.
- Blush and Bronzer: While contour is used to create shadows, bronzer creates a natural, sun-kissed glow that accentuates and lifts your cheekbones and other features. Bronzers come in liquids, creams, and powders (brush up on our tips for how to apply bronzer here). On the flip side, blush is used to add a hint of color to your cheeks and comes in liquid, powder, and cream formulas.
- Setting Products: You have a few options to set your makeup. Setting powder sets your look and locks it in place; finishing powder smooths fine lines and blurs pores for an airbrushed finish; setting spray locks everything in with a more dewy glow. “[Setting makeup] is a step I never skip, even if the client wants a glowing look,” says Sesnek. Just powder select areas (like your T-zone and under your eyes) and leave others dewy.
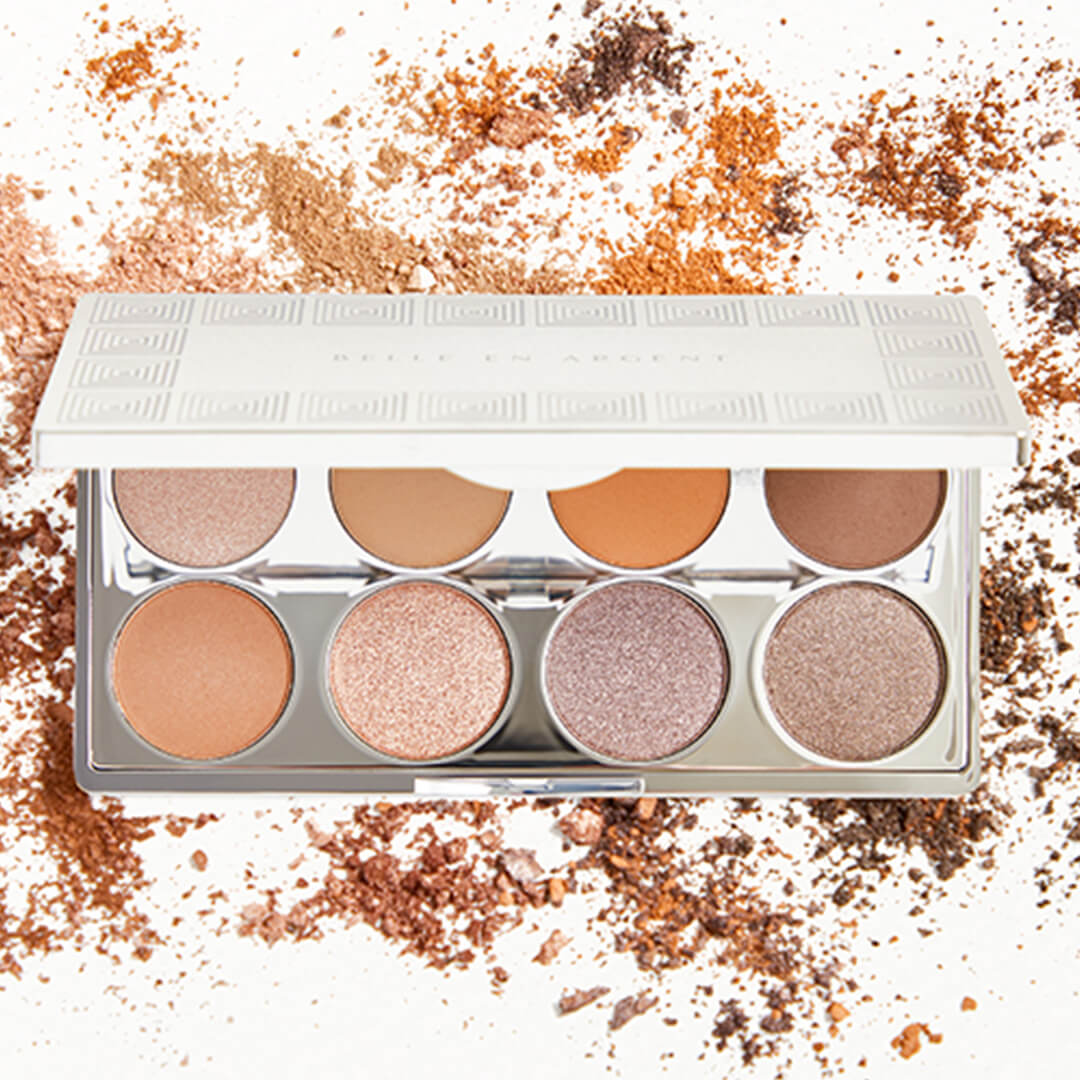
Eye Products
- Eyeshadow Primer: While most primers for your complexion contain silicone or water, eyeshadow primers offer more of a grip. This allows your eye makeup to stay in place all day. “Primers guarantee the longevity of your eyeshadow, but they won’t get along with some cream eyeshadows or smudging pencils,” says makeup artist Yesid Castro.
- Eyeshadow: Eyeshadow is pigmented powder or cream applied to your eyelids to accentuate your eyes. The colors come in a variety of finishes and shades, ranging from matte to shimmering to duochrome and satin. They also contain varying levels of pigmentation.
- Eyeliner: Eyeliner is used to define the eyes, enhance their shape, and create different looks. When it comes to eyeliner, you can opt for a gel, liquid, or pencil. If you’re unsure which one is right for you, turn to our guide on which eyeliner you should use.
- Mascara: Mascara is used to enhance eyelashes. Depending on the formula, you can make your lashes look fuller, thicker, longer, or darker (or all of the above if you hit the mascara jackpot).
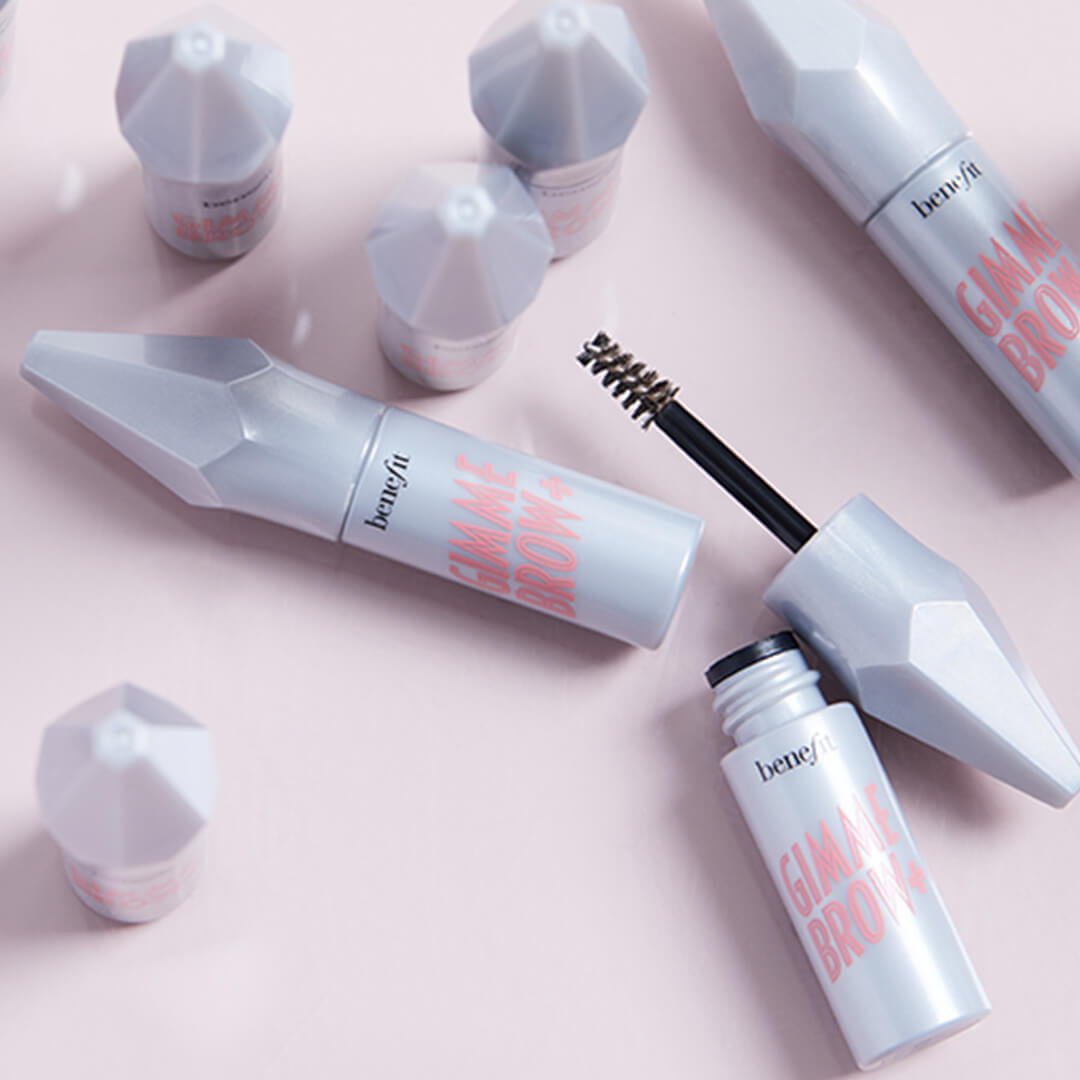
Eyebrow Products
- Eyebrow Gel: Eyebrow gel keeps brow hairs in place. The formula is usually either clear or tinted, natural, or extra-hold.
- Eyebrow Pencil: Eyebrow pencil is used to draw in hairs and allows you to achieve the most natural-looking finish. Not only does a fine tip create strokes that resemble real hair, but “the wax texture mimics real brow hairs,” says Sesnek.
- Eyebrow Powder: Powder is perfect for filling in sparse spots and is a great go-to for beginners, says Sesnek. In fact, if you don’t have a powder on hand, you can use an eyeshadow to achieve the same effect. Just be sure to select a shade most similar to your eyebrow color.
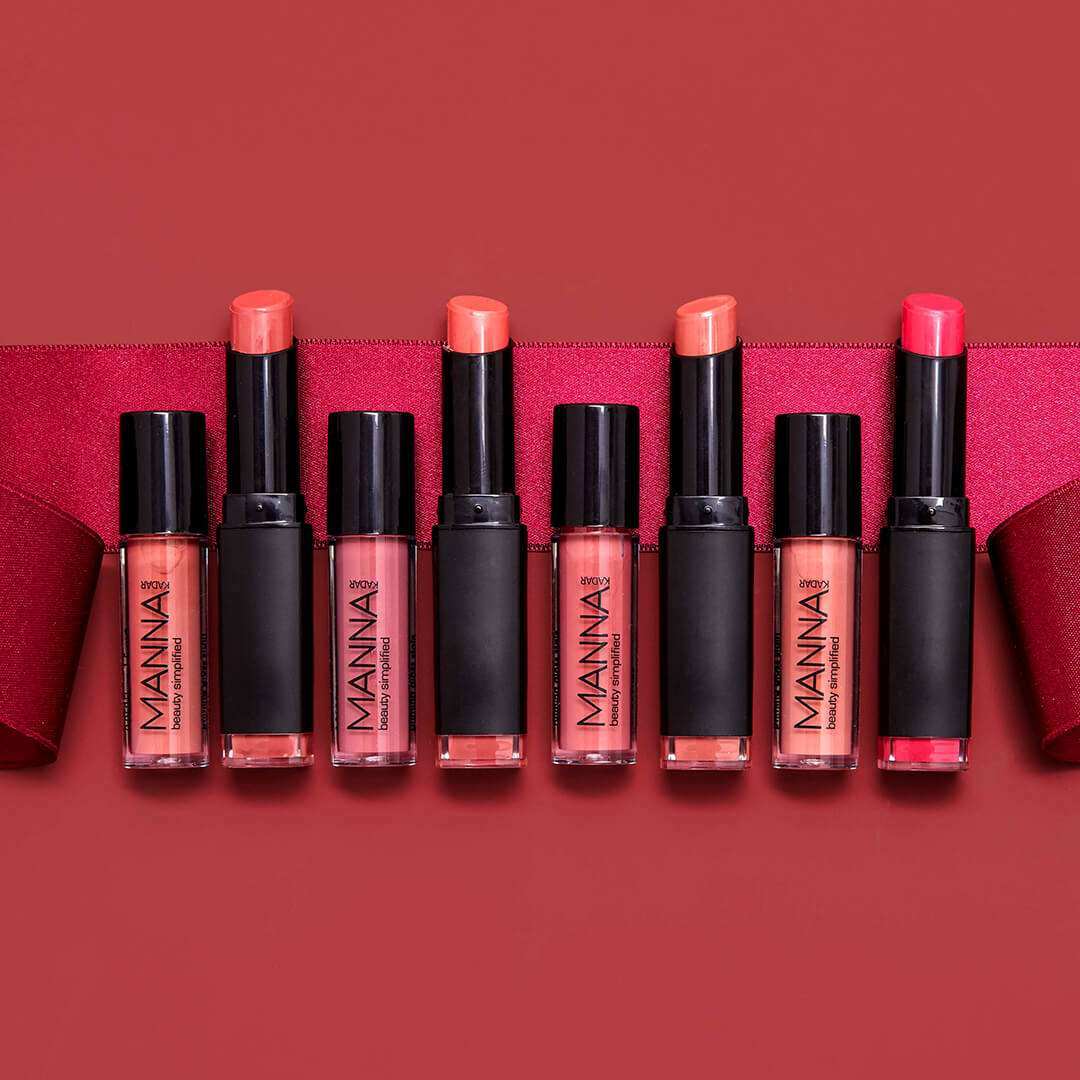
Lip Products
- Lip Primer: Lip primer is used to keep your lip products in place and create a smooth canvas for your lip products.
- Lip Pencil: Lip pencils enhance the shape of your lips and are used as an outline to set parameters before you apply lipstick. This step also prevents your lipstick from bleeding. If you want to create a fuller pout, you can use your lip liner to contour your mouth and lightly over-line.
- Lipstick: Lipstick adds color to the lips, further enhancing your mouth’s fullness. It’s available in a variety of forms, from liquid lipstick to matte lipstick, and comes in every shade under the sun.
- Lip Gloss: Lip gloss creates a glossy finish and can come in a variety of colors, from completely translucent to highly pigmented. “Depending on the formula, I always find the best way to use lipgloss is when it is applied with the original applicator and spread with the finger,” says Castro.
1. Start with moisturizer.
No matter what your skin type (dry, oily, or combination), it’s important to hydrate both morning and night—and don’t forget sunscreen in the a.m. Maulawizada recommends cleansing and toning (this is especially important at night!) before applying moisturizer. Then, he gives his skin a little relaxing massage.
“I take the moisturizer and warm it up between the palms of my hands and then massage it into the skin with upward and outward circular motions,” he says. The AHAVA Essential Day Moisturizer is the perfect lightweight cream for everyday use. It soaks in quickly so you can apply SPF on top and foundation and it won’t pill. It’s also rich with Dead Sea water, amino acid, and vitamins E and B5 to strengthen and nourish skin.
2. Pat on Your Primer
While you don’t need a makeup primer all the time, it really helps keep your makeup on—especially on a busy or warm day. “A proper primer is meant to allow your makeup to wear the same all over your face,” says Maulawizada. “Meaning that the makeup won’t disappear or set on the surface on the dry areas of the skin and will not separate on the oily areas such as the T-zone.” Just like with moisturizer, he likes to warm up primer in his hands. But this time, he pats it all over the face (instead of rubbing it) where makeup will be applied.
If you have dry skin, look for a hydrating makeup primer, like CIATÉ LONDON Watermelon Burst Hydrating Primer. It’s infused with watermelon extract, which is packed with vitamin C, antioxidants, and hyaluronic acid to lock in all that non-greasy hydration. Those with oily skin should opt for an oil-absorbing or pore-blurring primer.
Something to be mindful of is that the type of primer you use can affect the finish of the foundation. “A primer with a glow can make the base look more airbrushed and have a softer lit-from-within appearance,” says Bell. “Whereas, a more matte-textured primer can make the base appear more velvety.” If indeed a matte finish is what you’re after, the lightweight ELIZABETH MOTT Thank Me Later Face Primer will keep your complexion shine-free and minimize the appearance of pores.
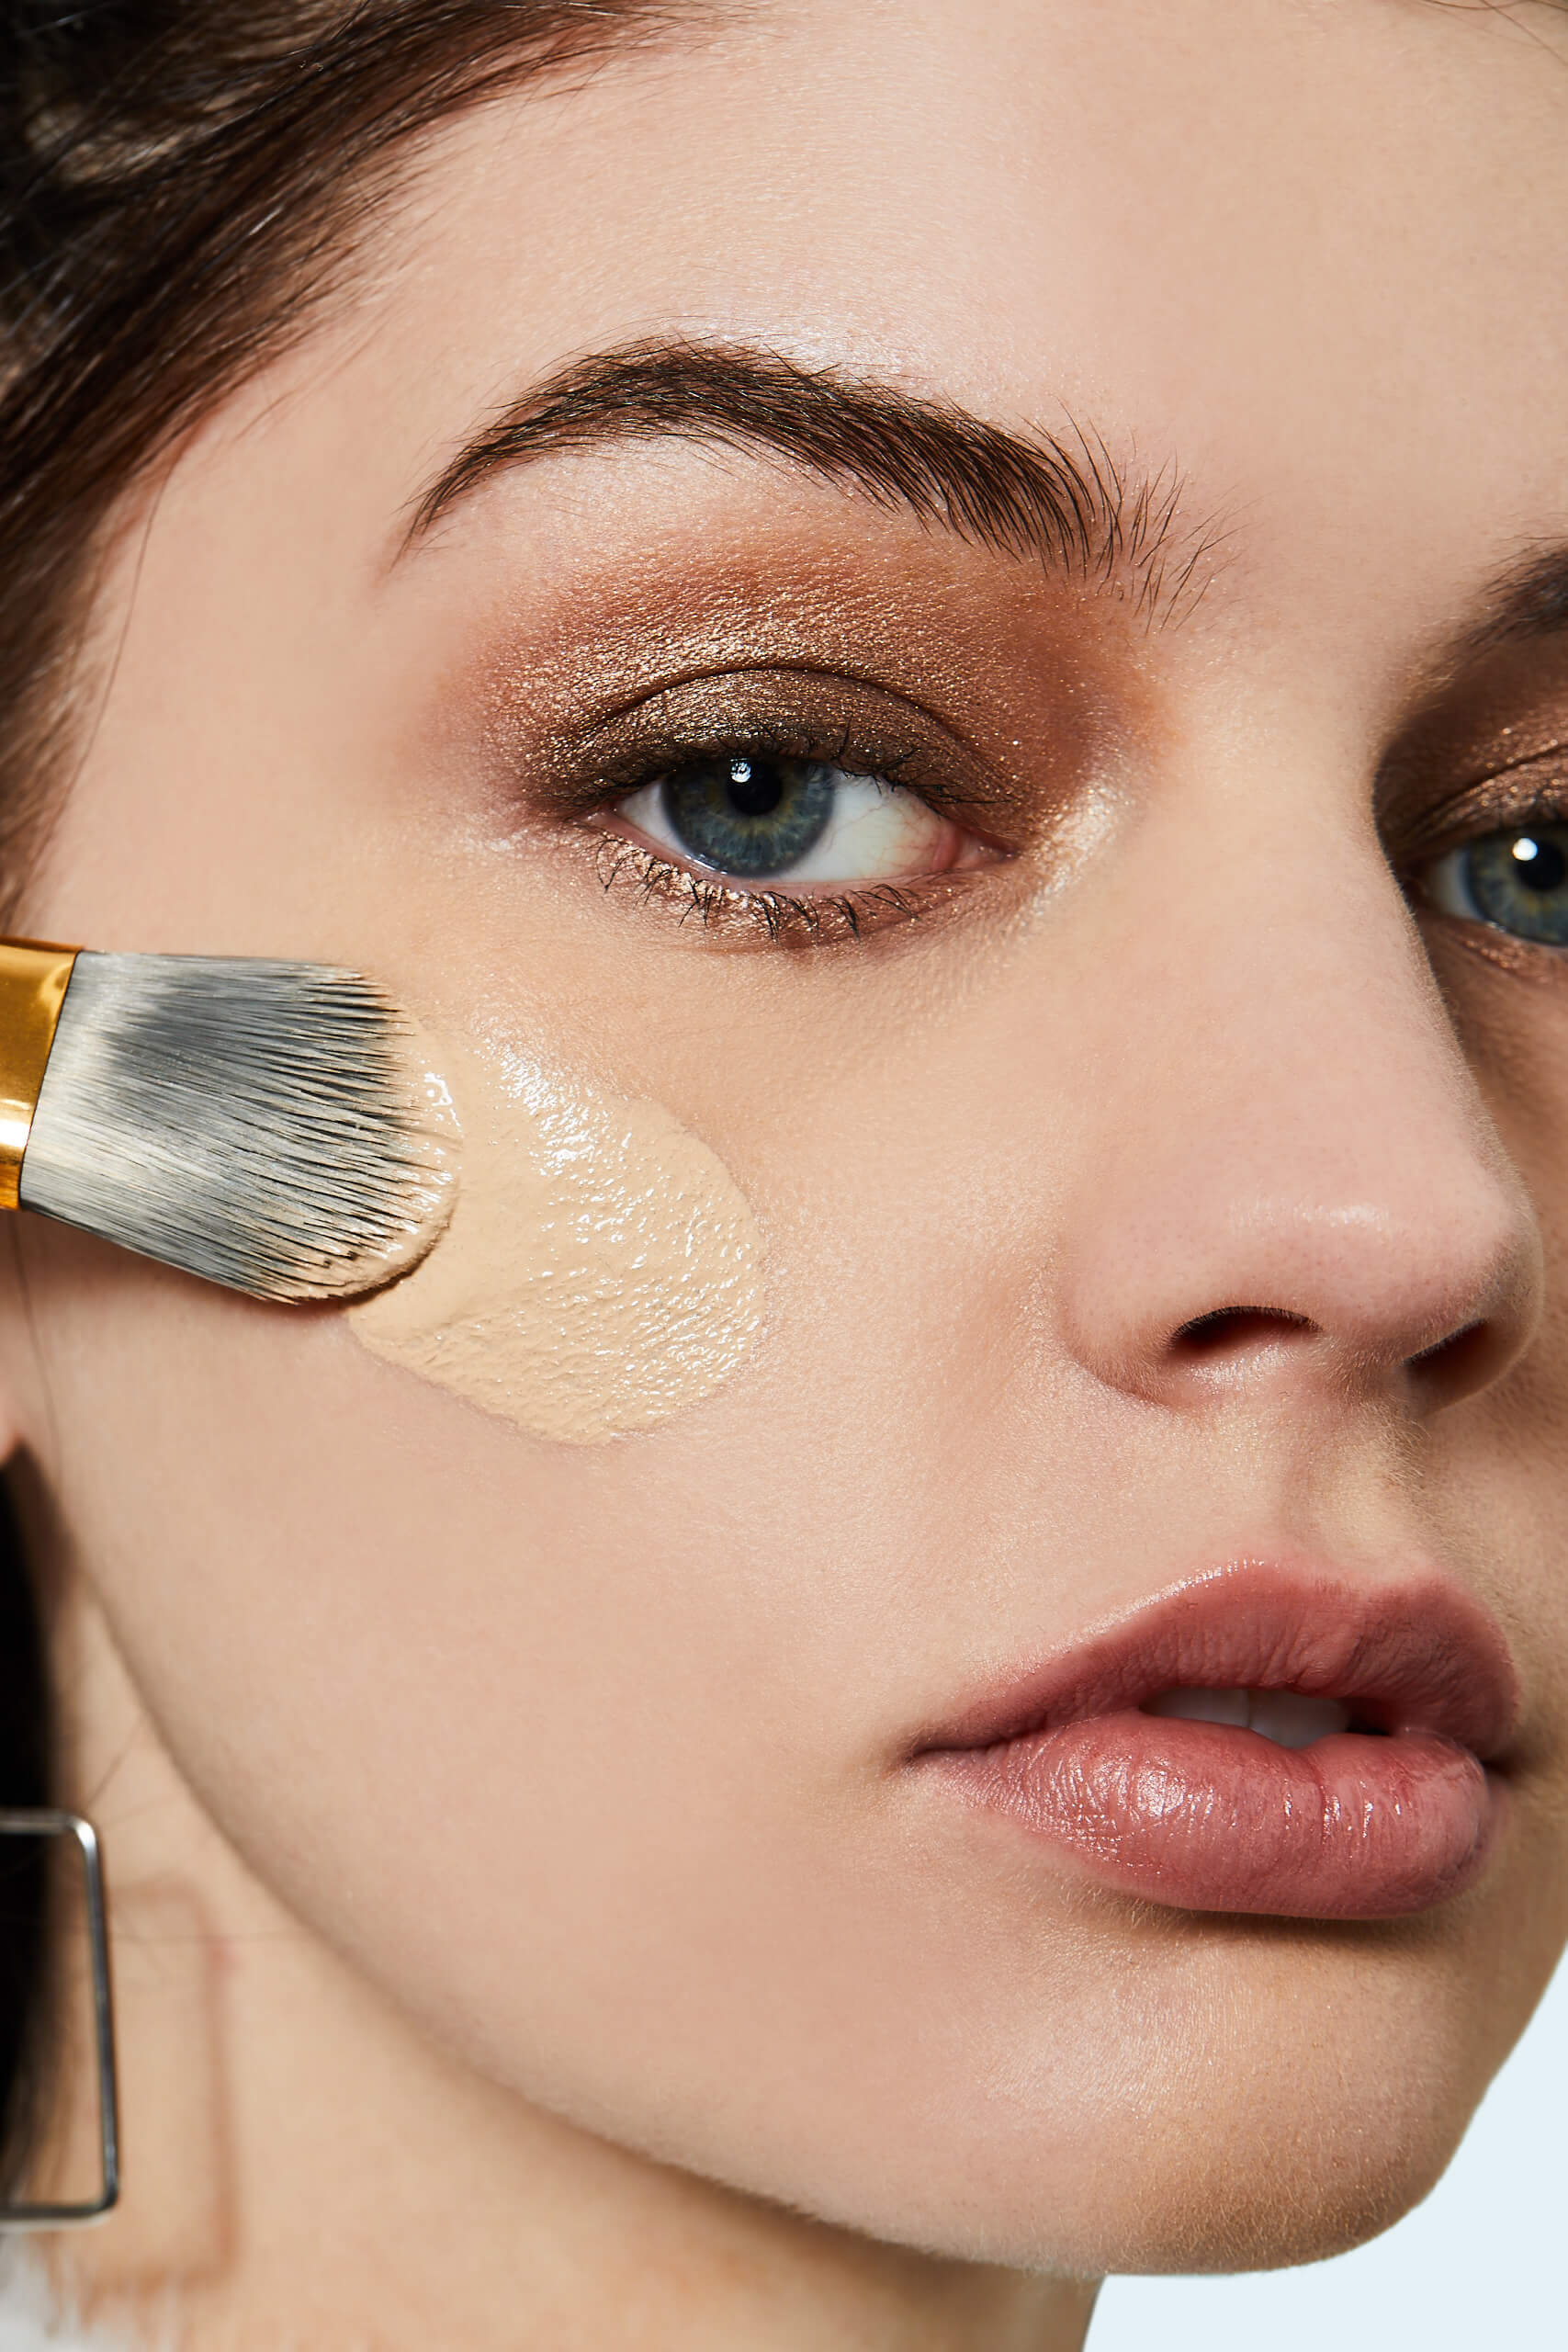
3. Apply Foundation
You can apply foundation with your fingers, a makeup sponge, or a foundation brush—it’s all up to your comfort level. Maulawizada prefers using his fingers only when applying a small amount, such as one layer of lightweight foundation or a BB cream. For a more full-coverage look, he prefers distributing the foundation evenly on a synthetic brush. He first applies the foundation to the flat parts of the face and finally, with less on the brush, applies it to the T-zone. “This will create the illusion of less makeup,” says Maulawizada.
4. Conceal Where You Want More Coverage
Just like foundation, you can apply concealer with either a makeup brush or sponge or just your fingers, but a brush will give you a bit more full-coverage makeup look. Still, when it comes to concealer, a little goes a long way. You really only need to apply it to the areas you want to hide. Dot concealer under your eyes to cover dark circles, starting small and building up as needed. “Concealer can get very cake-y on the delicate skin around the eyes,” says Maulawizada. Then, apply a little to any blemishes or red spots, allowing the formula to set for a few minutes before applying any type of powder on top.
It’s also important to note different types of concealers and the purposes they serve. “Concealers with a creamy texture are more versatile,” Bell explains. “You’ll be able to use them under the eyes and on other parts of the face, as they blend seamlessly into the skin. Richer and thicker formulations, like concealer in a stick or pot, are superb for covering spots and blemishes."
If you opt for a creamy formula, Bell advises to “pat in with clean fingertips or a makeup sponge.” With richer stick and pot concealers, “It’s worth investing in a precision concealer brush,” she says. “These allow you to be very targeted with where you add the extra coverage. Once you have applied these types, dot gently with your brush to blend into the skin.”
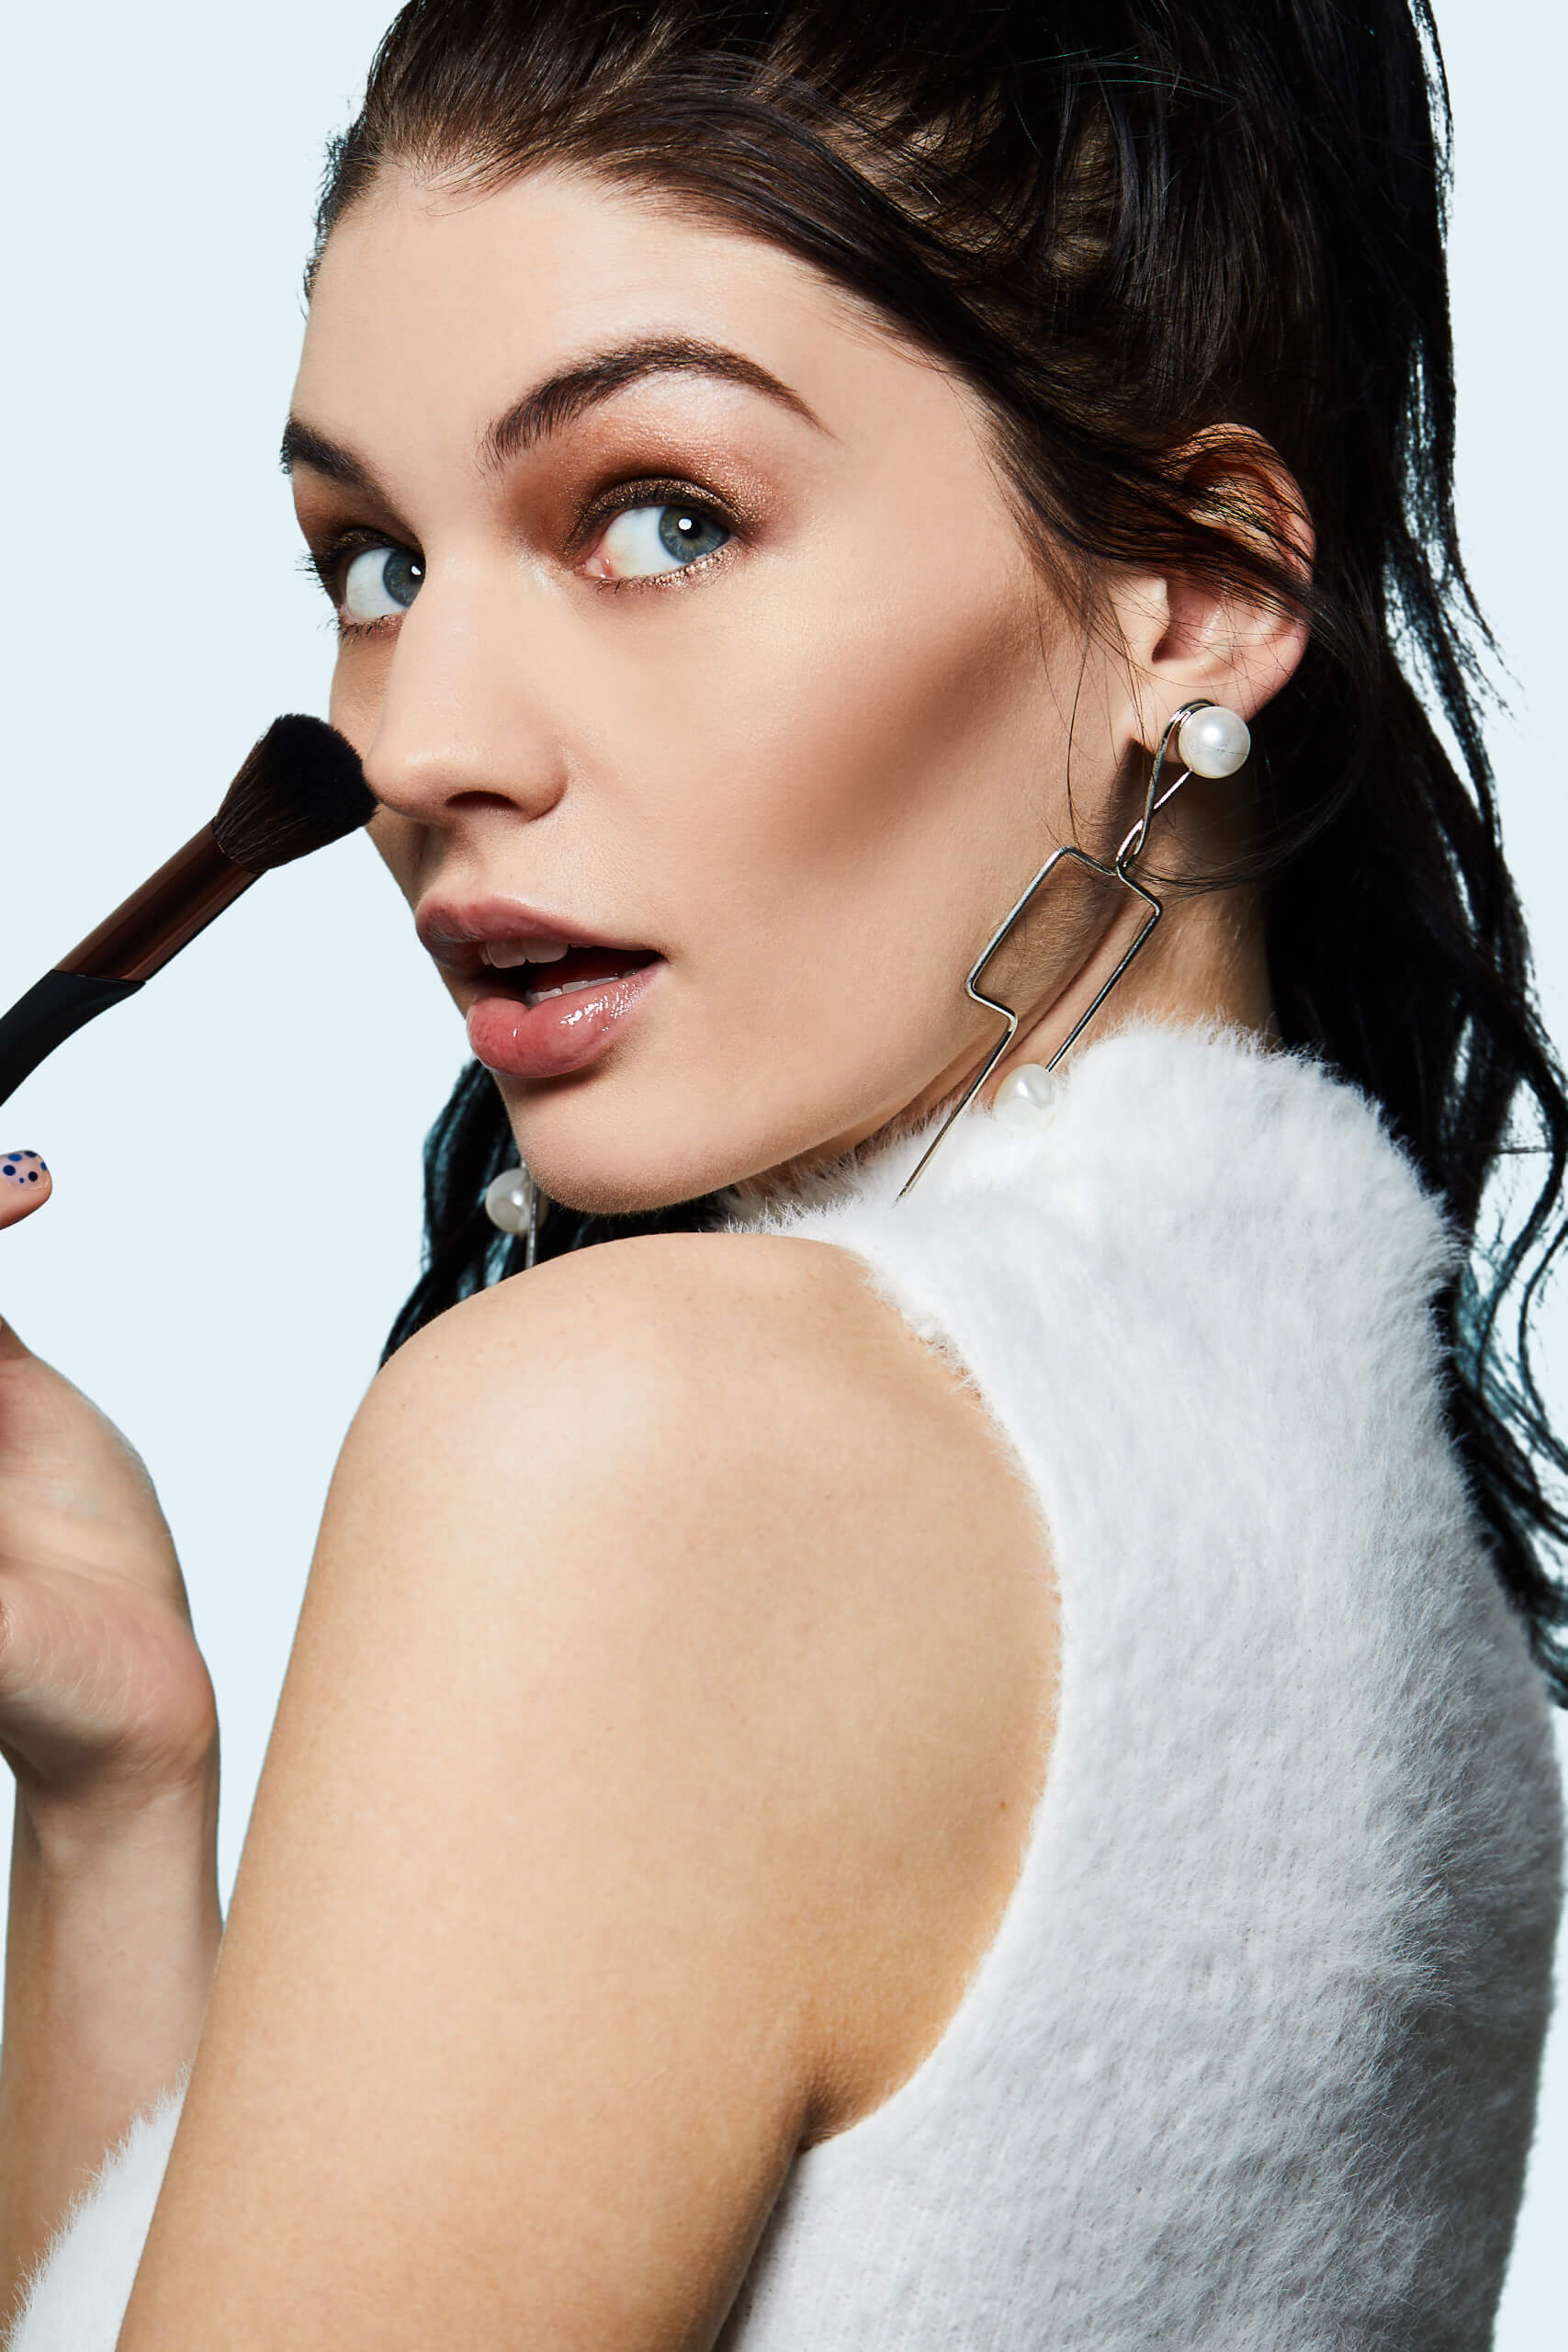
5. Add Back Some Color to Your Face
Bronzer is super versatile because it can be used as contour or just as a burst of warmth like you just got back from a beach vacation. When applied as a contour to sculpt your cheeks and jaw, you want to only add color where the sun would naturally tan your face. “[Focus on] your hairline, bridge of the nose, and the high points of your cheeks,” says Maulawizada. ”Contour should mimic the color of shadow on your skin,” he adds, so be careful not to choose a color too deep for your skin tone.
For traditional bronzer application, Bell recommends the continuous “3 shape” method. “Tap off the excess powder off your brush and start at the forehead,” she suggests. “Sweep under the cheekbone and continue backwards towards the hairline, working down towards the jaw on the outer periphery of the face. Then sweep along the jawline, as this technique refines the bone structure while simultaneously adding warmth. I would choose a brush that’s relatively fluffy but tapered (rather than rounded) to achieve the sculpting results.”
A matte bronzer like Manly Beach from the NOMAD COSMETICS NOMAD x Sydney Bathers Kiss Of Sun Palette is perfect for blending onto the high points of the face. It contains macadamia oil to soften and moisturize your skin so it feels soft to the touch. It’s never overly heavy no matter how much you want to sculpt.
After bronzer, you’ll want to apply blush, using the newly popular draping technique. “You take the blush higher than just the apples of your cheeks,” Bell says. “It gives an incredibly vivacious look, really adding a pop of color and also adding extra dimension to the face. Start at the apple of the cheek and sweep the brush higher towards the hairline in a teardrop shape. This draping technique works beautifully with cream, gel, liquid and powder blush.”
While the application method works equally for varying formulas, the applicator itself differs. “For a gel and liquid, I like to use a soft makeup sponge,” Bell says. “For a powder blush, I use a soft fluffy cheek brush so I can blend the blush into the skin in a soft circular movement for an effortless look.”
THEBALM COSMETICS Will Powder Blush in Worth the Wait is a skin-brightening, natural-looking rosy blush that is buildable with a fluffy blush brush so you can keep applying until you’ve reached your target color.
6. Highlight the High Points
A makeup look isn’t complete without highlighter. You can go for either a swipe so blinding you can see it from space, or simply a natural-looking glow. “Highlighter can be applied wherever you want to bring attention, like cheekbones or even clavicles,” says Maulawizada. He warns that although a tip-of-the-nose highlight is trendy on YouTube, it can look a bit dramatic and unnatural IRL. (Unless you’re going for that, of course, then rock on!)
Using the same NOMAD COSMETICS NOMAD x Sydney Bathers Kiss Of Sun Palette, play around with the pink and golden highlighters in Balmoral and Tamarama Beach. Use your finger to dab just a tiny bit onto the cheeks and brow bones or grab a fan brush and go all in layering on the glow.
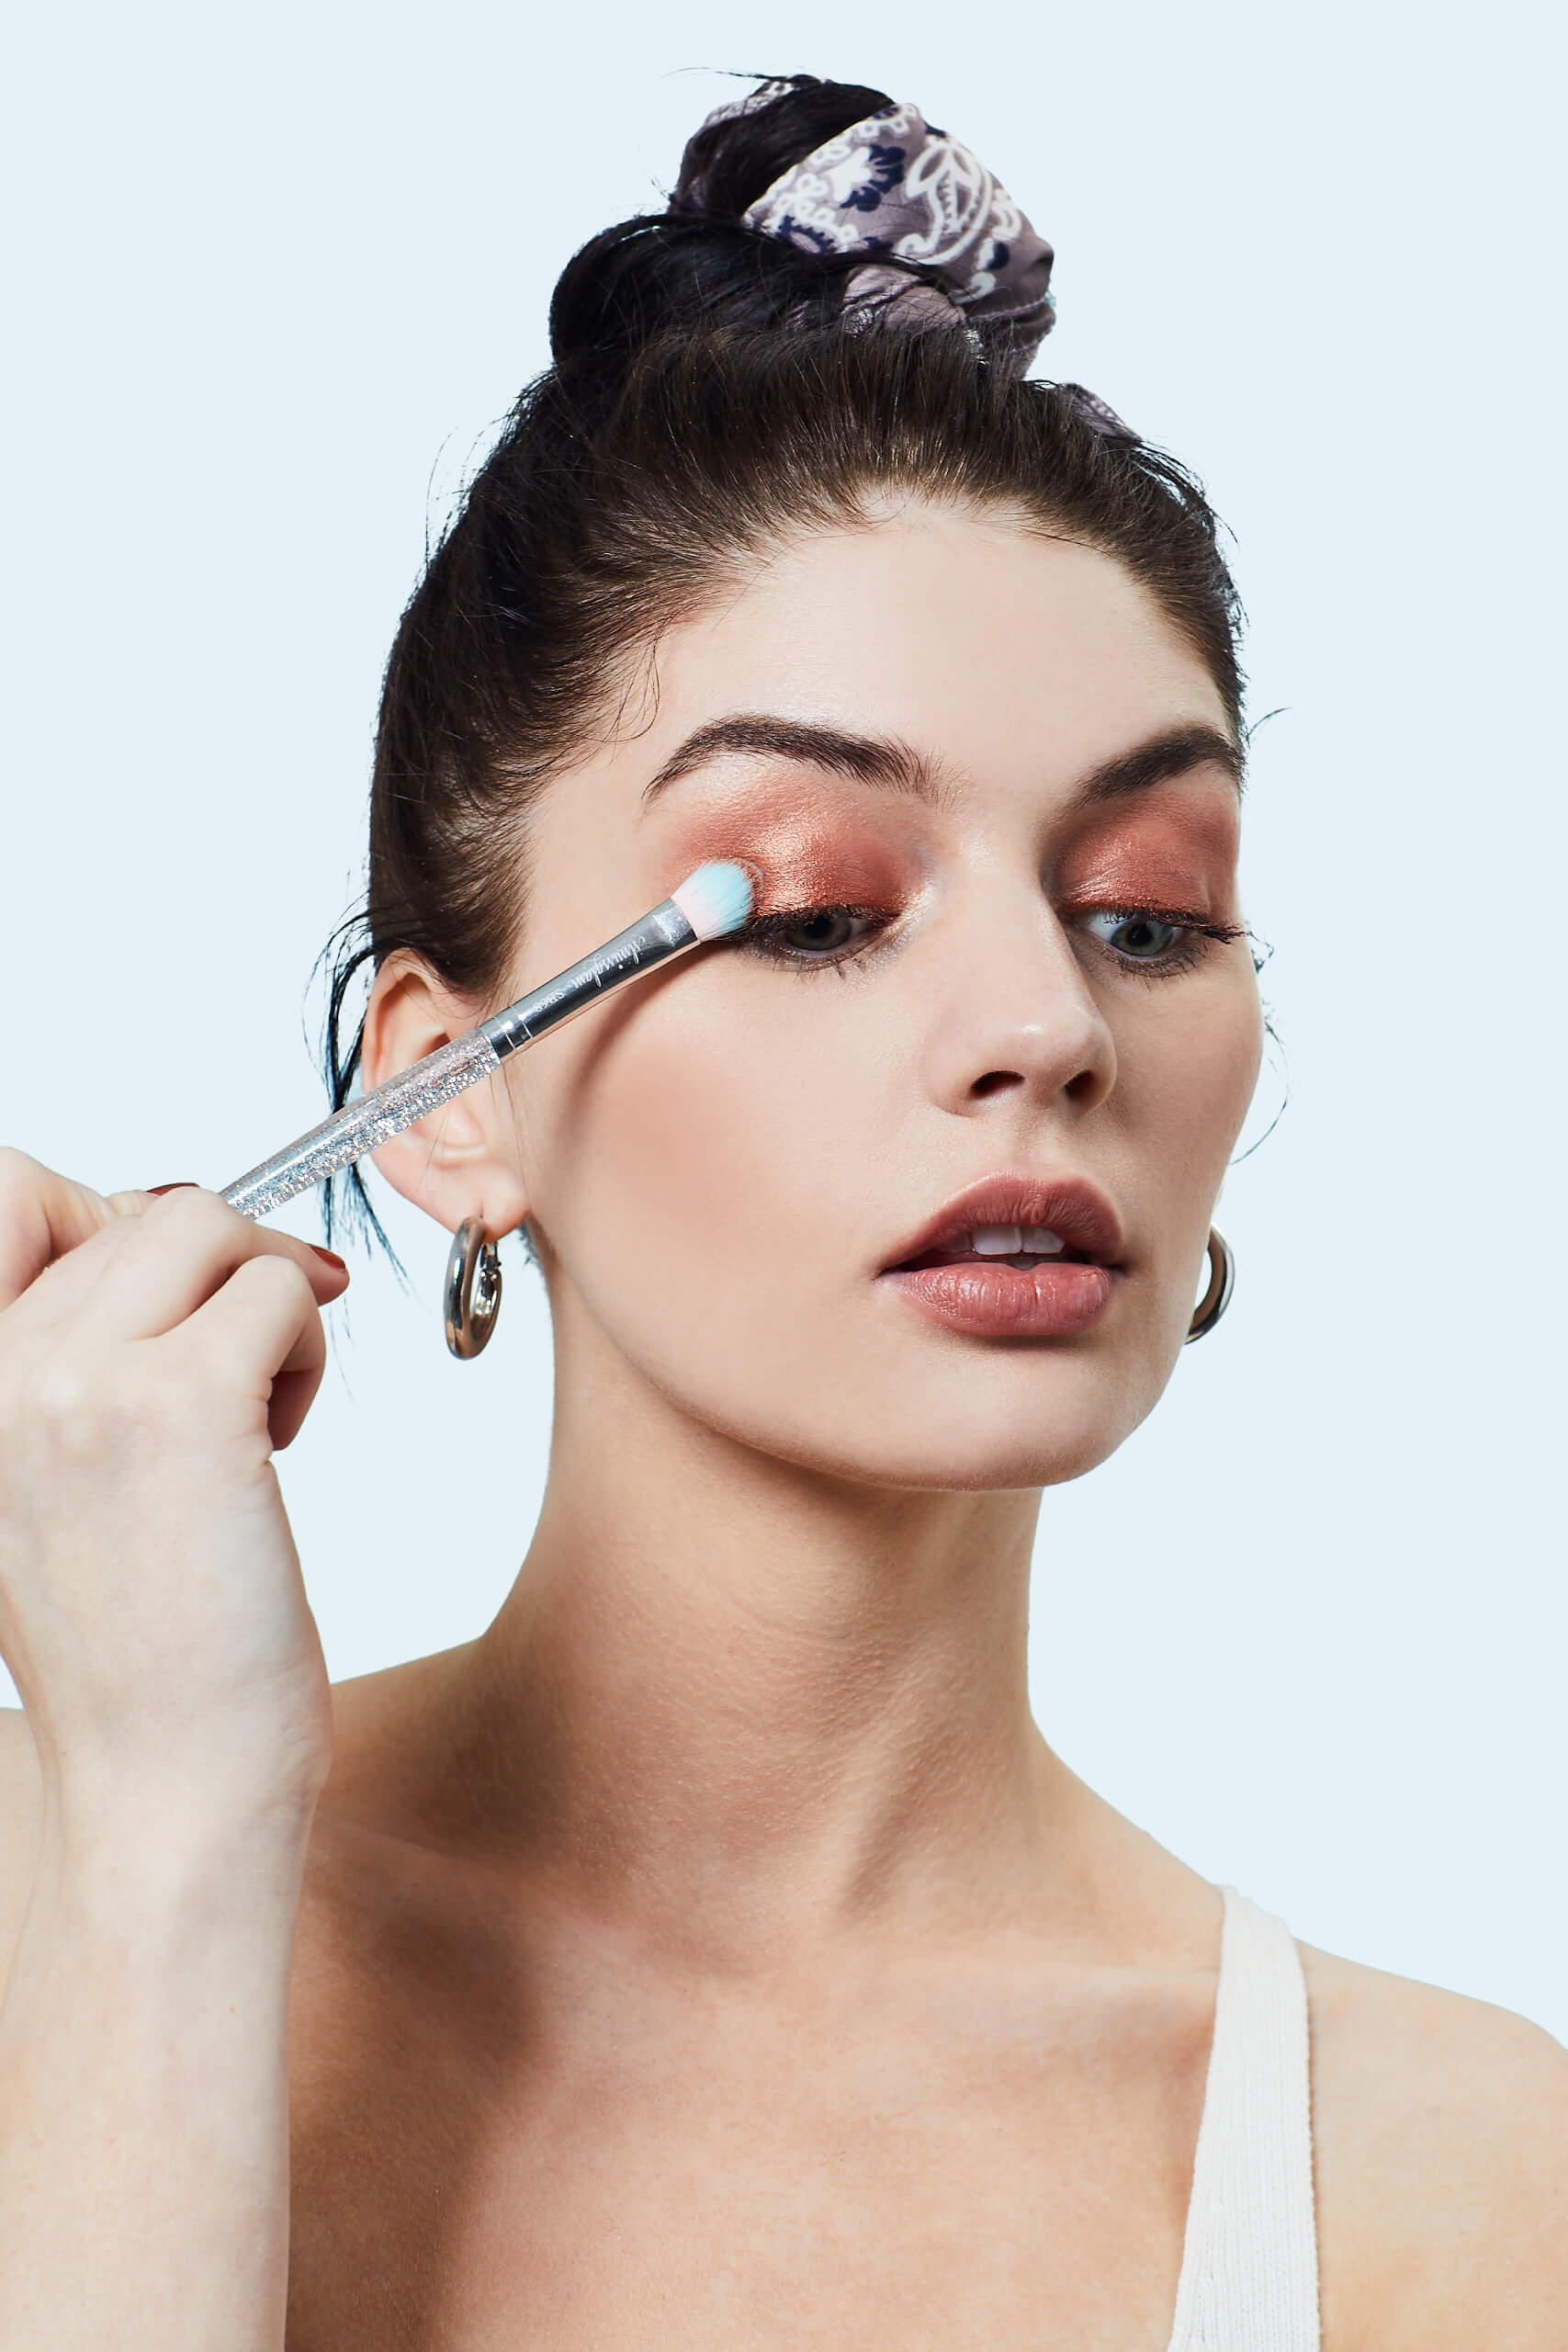
7. Experiment With Eyeshadow
There are numerous ways to rock eyeshadow, but when it comes to the basics, there are a few things to remember. “The light shades similar to your skin tone act as a base,” explains Maulawizada. “A darker shade creates shape and definition, as well as contours the eye. Shades in between are for the lids to marry the two seamlessly.”
And that shimmer? Add it to the inner corners of your eyes to make them look big and bright. ITTSĒ The Van Ness Magnetic Eyeshadow Quad has every eye shadow color you need for a soft glam with intense color payoff. The buttery texture is ultra-blendable with a flat shadow or crease brush.
8. Define Your Eyes With Eyeliner
There are those who can’t live without eyeliner and those who only bust it out on special occasions. But it’s always nice to have a basic black liner in your makeup bag for when the feeling strikes. Maulawizada likes to use a pencil eyeliner to make eyeshadow deeper and more dramatic. “It can be dotted between lashes to create a fuller lash base,” he says. “And of course as a liner sharply or smudged to create definition around the eyes.”
We love the TARTE tarteist™ Double Take Eyeliner in Black because it’s dual-ended for all the possibilities. Use the liquid eyeliner side to create crisp lines or sharp wings. The clay-infused gel pencil on the other side is perfect for applying to your waterline to make your eyes pop.
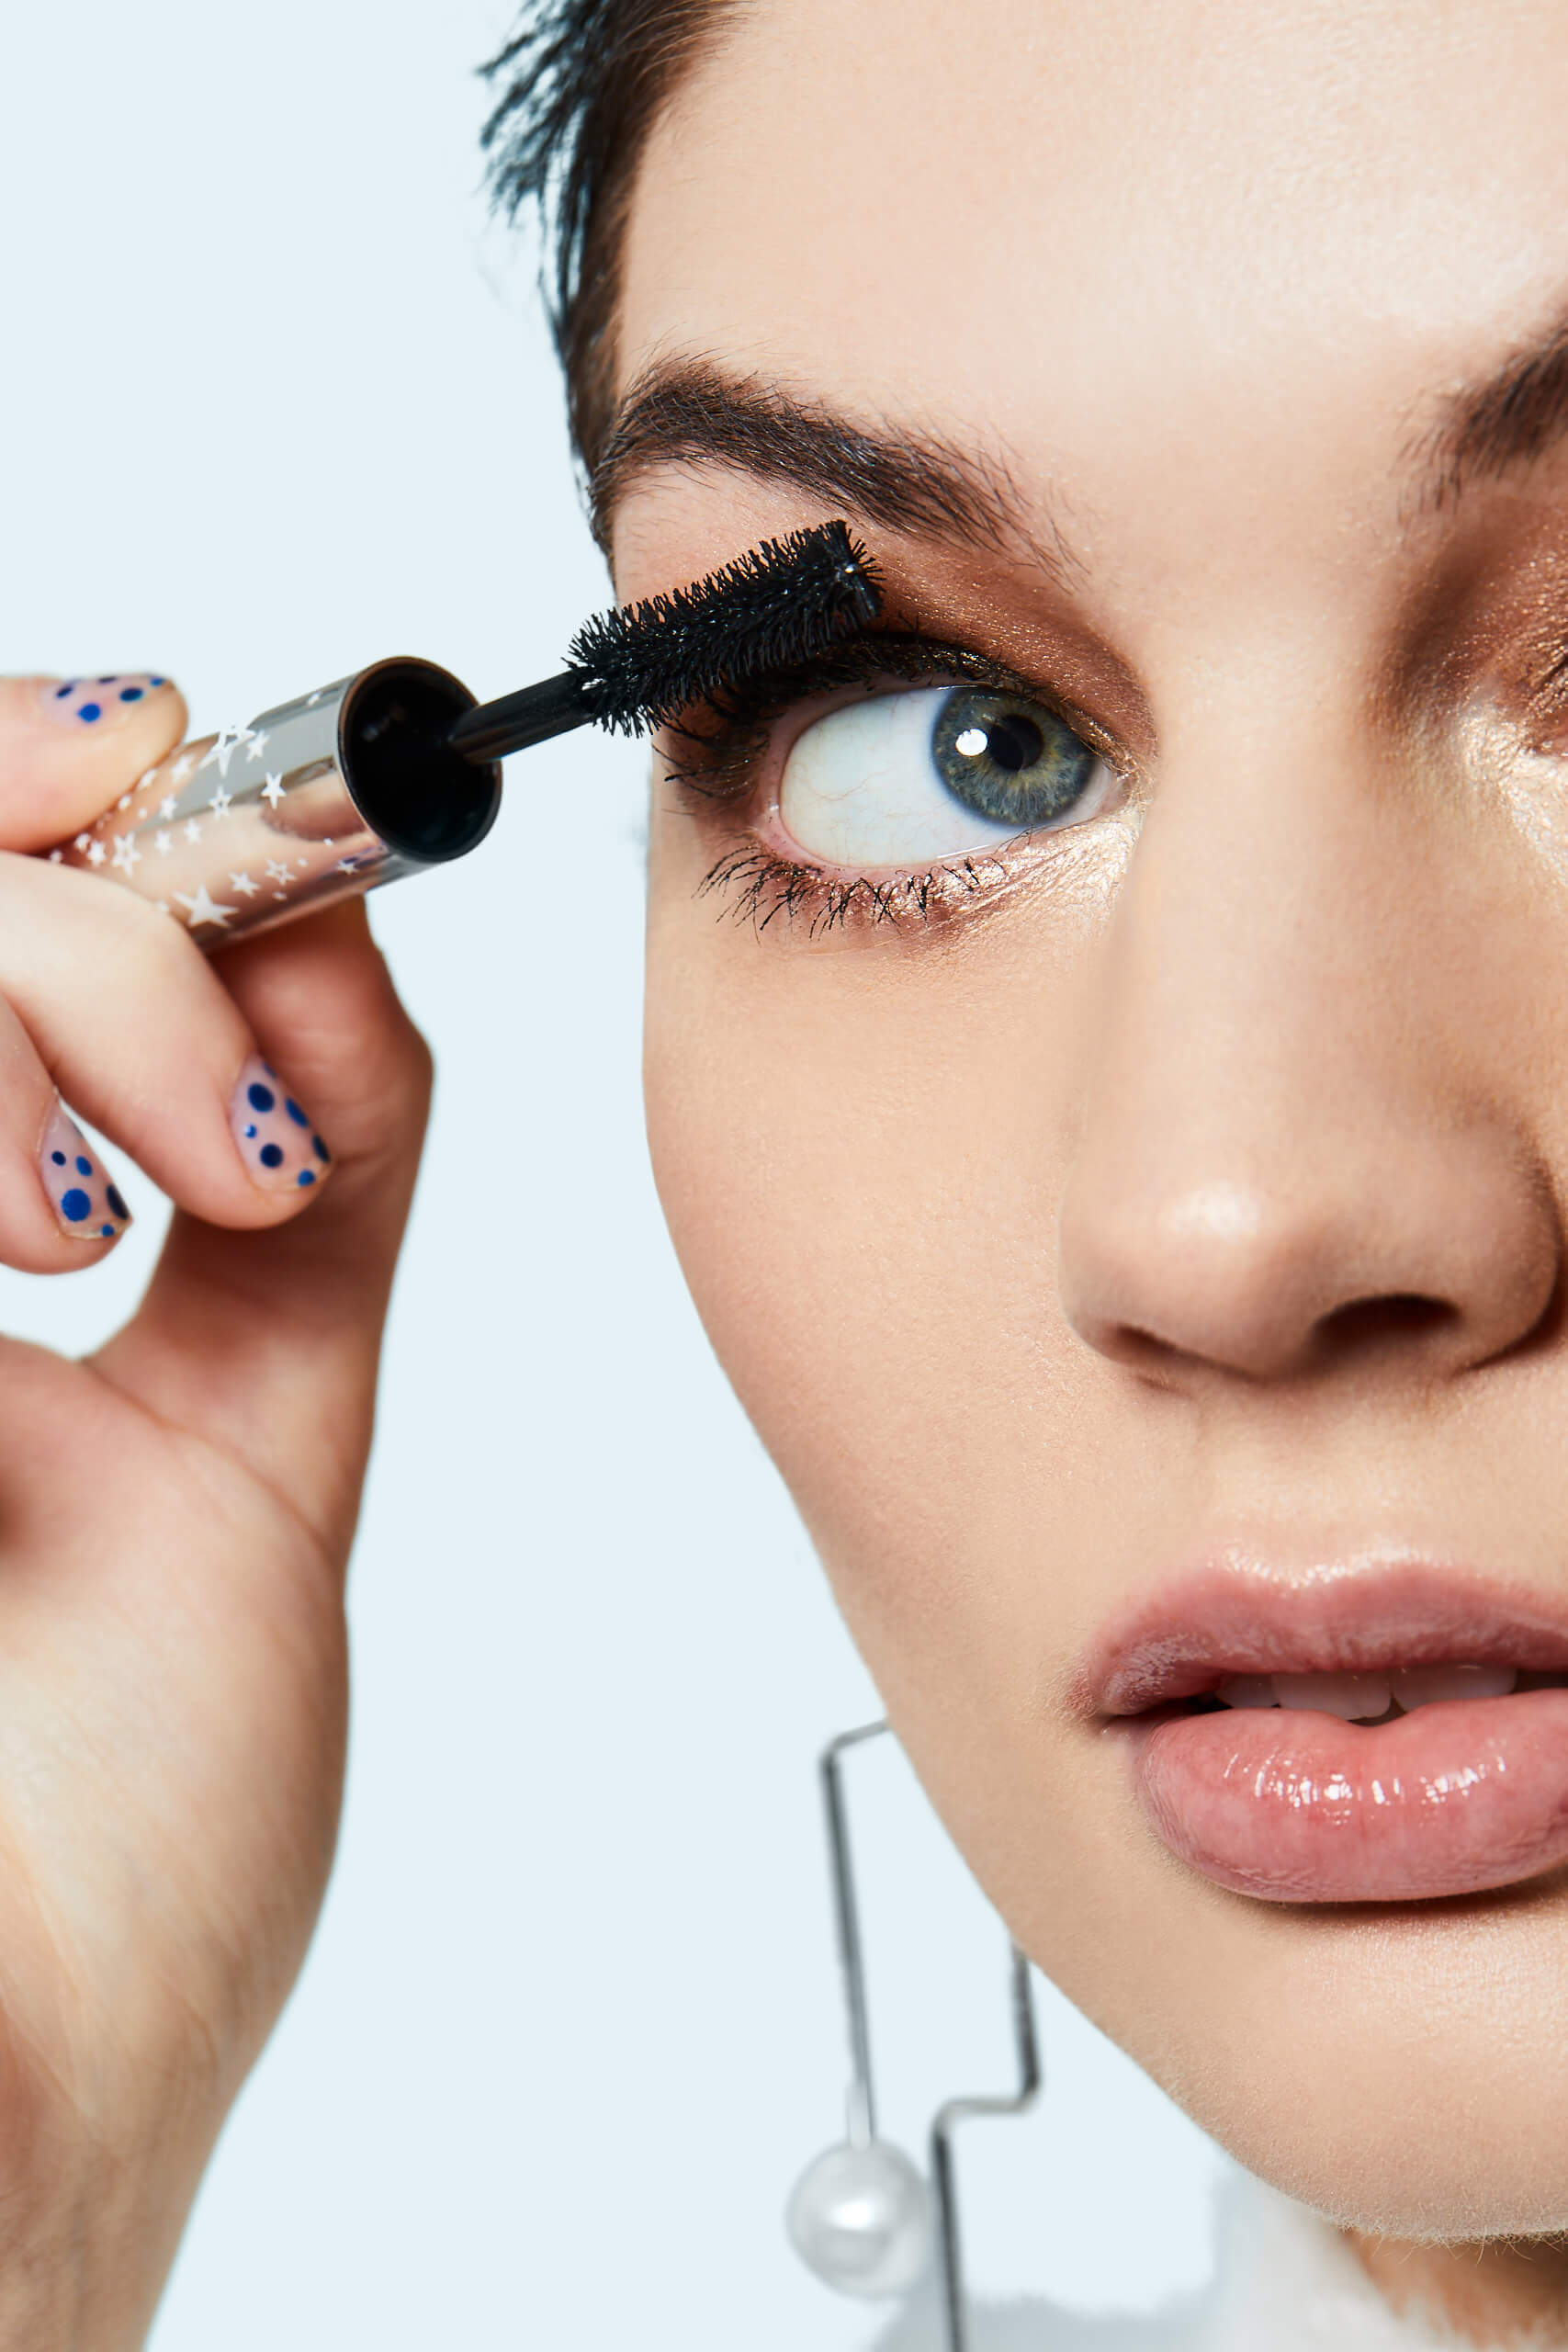
9. Swipe on Mascara
Makeup artists and us normal people usually apply mascara a bit differently. If you often just layer it on, try this trick from Maulawizada. “After curling the lashes, I wiggle the mascara at the root of the lashes and work it to the tips,” he says. This creates a full, dark lash line at the base of the lashes. The TARTE SEA surfer curl™ volumizing mascara allows you to skip the lash curler (if you so choose) since it both curls and adds volume at the same time. The vegan formula contains vitamin E and marine algae to condition lashes so you’ll never get that crunchy, spidery look no matter how many coats you apply. Perhaps most importantly, it’ll never smudge or smear.
10. Stick on Some False Lashes (optional).
If you’ve recently spent any time on social media (and who hasn’t?), you’re well aware that false lashes are bigger than ever. While magnetic lashes have gained serious popularity in recent years, traditional glue-on falsies still reign supreme. While this is what we consider an added bonus in a makeup routine, if indeed you want to take this route, Bell breaks down step-by-step instructions for doing it effortlessly.are a great starter set. Not only are they inexpensive, they also appear more on the natural side and are made by a reputable brand that influencers swear by. Added bonus? They’re vegan and cruelty-free.
- Start by applying eyeliner along the upper lash line. This will guide you and give a better finish to the final look. Use a pencil liner for a softer look, or a liquid liner for a refined look.
- Next, curl your lashes. If you can, gently heat your eyelash curler with a hair dryer on very low heat in advance. This will provide a greater, longer-lasting curl.
- Apply a coat of mascara.
- Remove strip lashes gently with tweezers from the packet and measure them along the eyes. Cut the strip of lashes to fit your eyes (small sanitized nail scissors should do the trick).
- Use a cotton swab to apply a thin layer of eyelash glue to the band.
- The next step is very important: Go in with a little extra glue and add an extra blob on the inner and outer ends of the lash.
- Then, wait approximately 30 seconds to allow the glue to get tacky in texture.
- Place the eyelash as close to your natural lash line as possible.
- Press down on the center of the lashes first, then the inner and outer corners.
- Lastly, clamp your real lashes and the false lashes together with a lash applicator or tweezers.
MORPHE’s False Lashes in DTLA
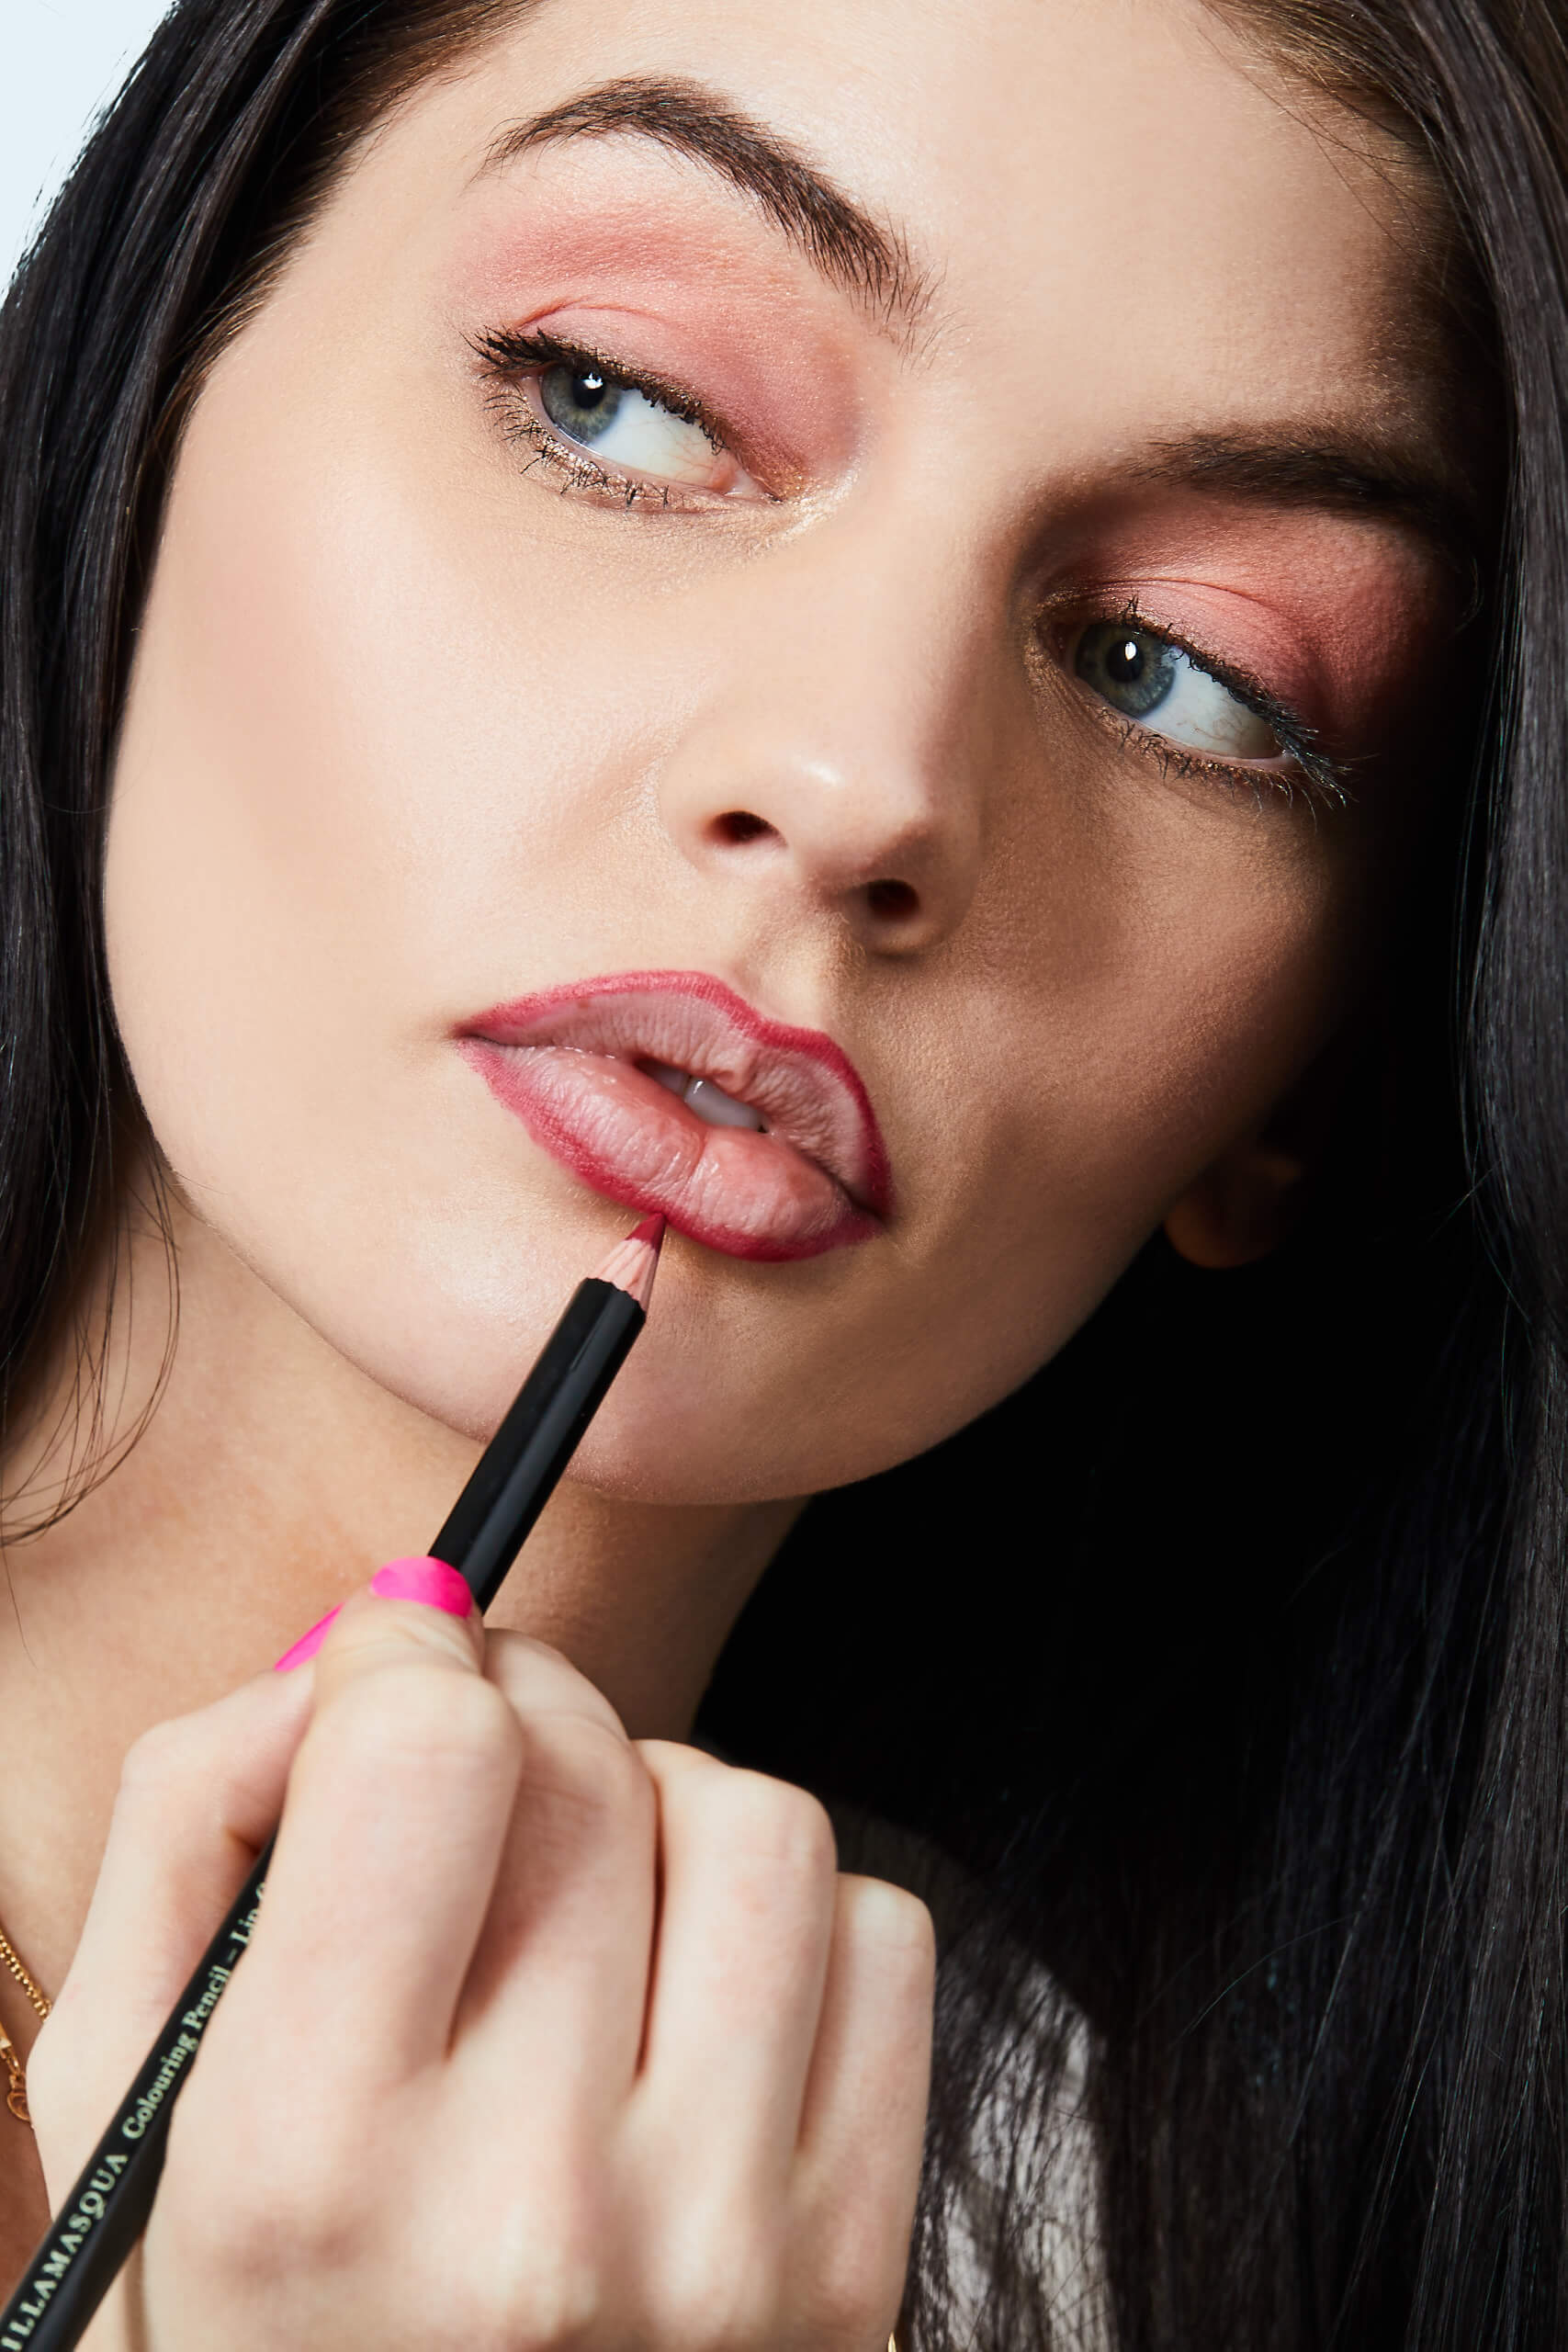
11. Line Your Lips
Applying lip liner can both contour your lips and make your lipstick last longer. Maulawizada prefers lining the lips to contour and then shading in the rest of the lips lightly. When lipstick is applied on top, it creates a plumping 3D effect. Plus, as the lipstick wears off, the liner shows underneath instead of bare lips.
We recommend a three-in-one lip liner like THRIVE CAUSEMETICS Lip Filler Long Wearing + Plumping Lip Liner in Ghizlan. The natural-looking plum mauve shade looks gorgeous on all skin tones and the formula is truly unique. It contains hydrating and plumping ingredients to minimize the appearance of lip lines and keep both lipstick and liner from fading and feathering. The long-wearing, waterproof formula is also vegan and cruelty-free, so it basically has it all.
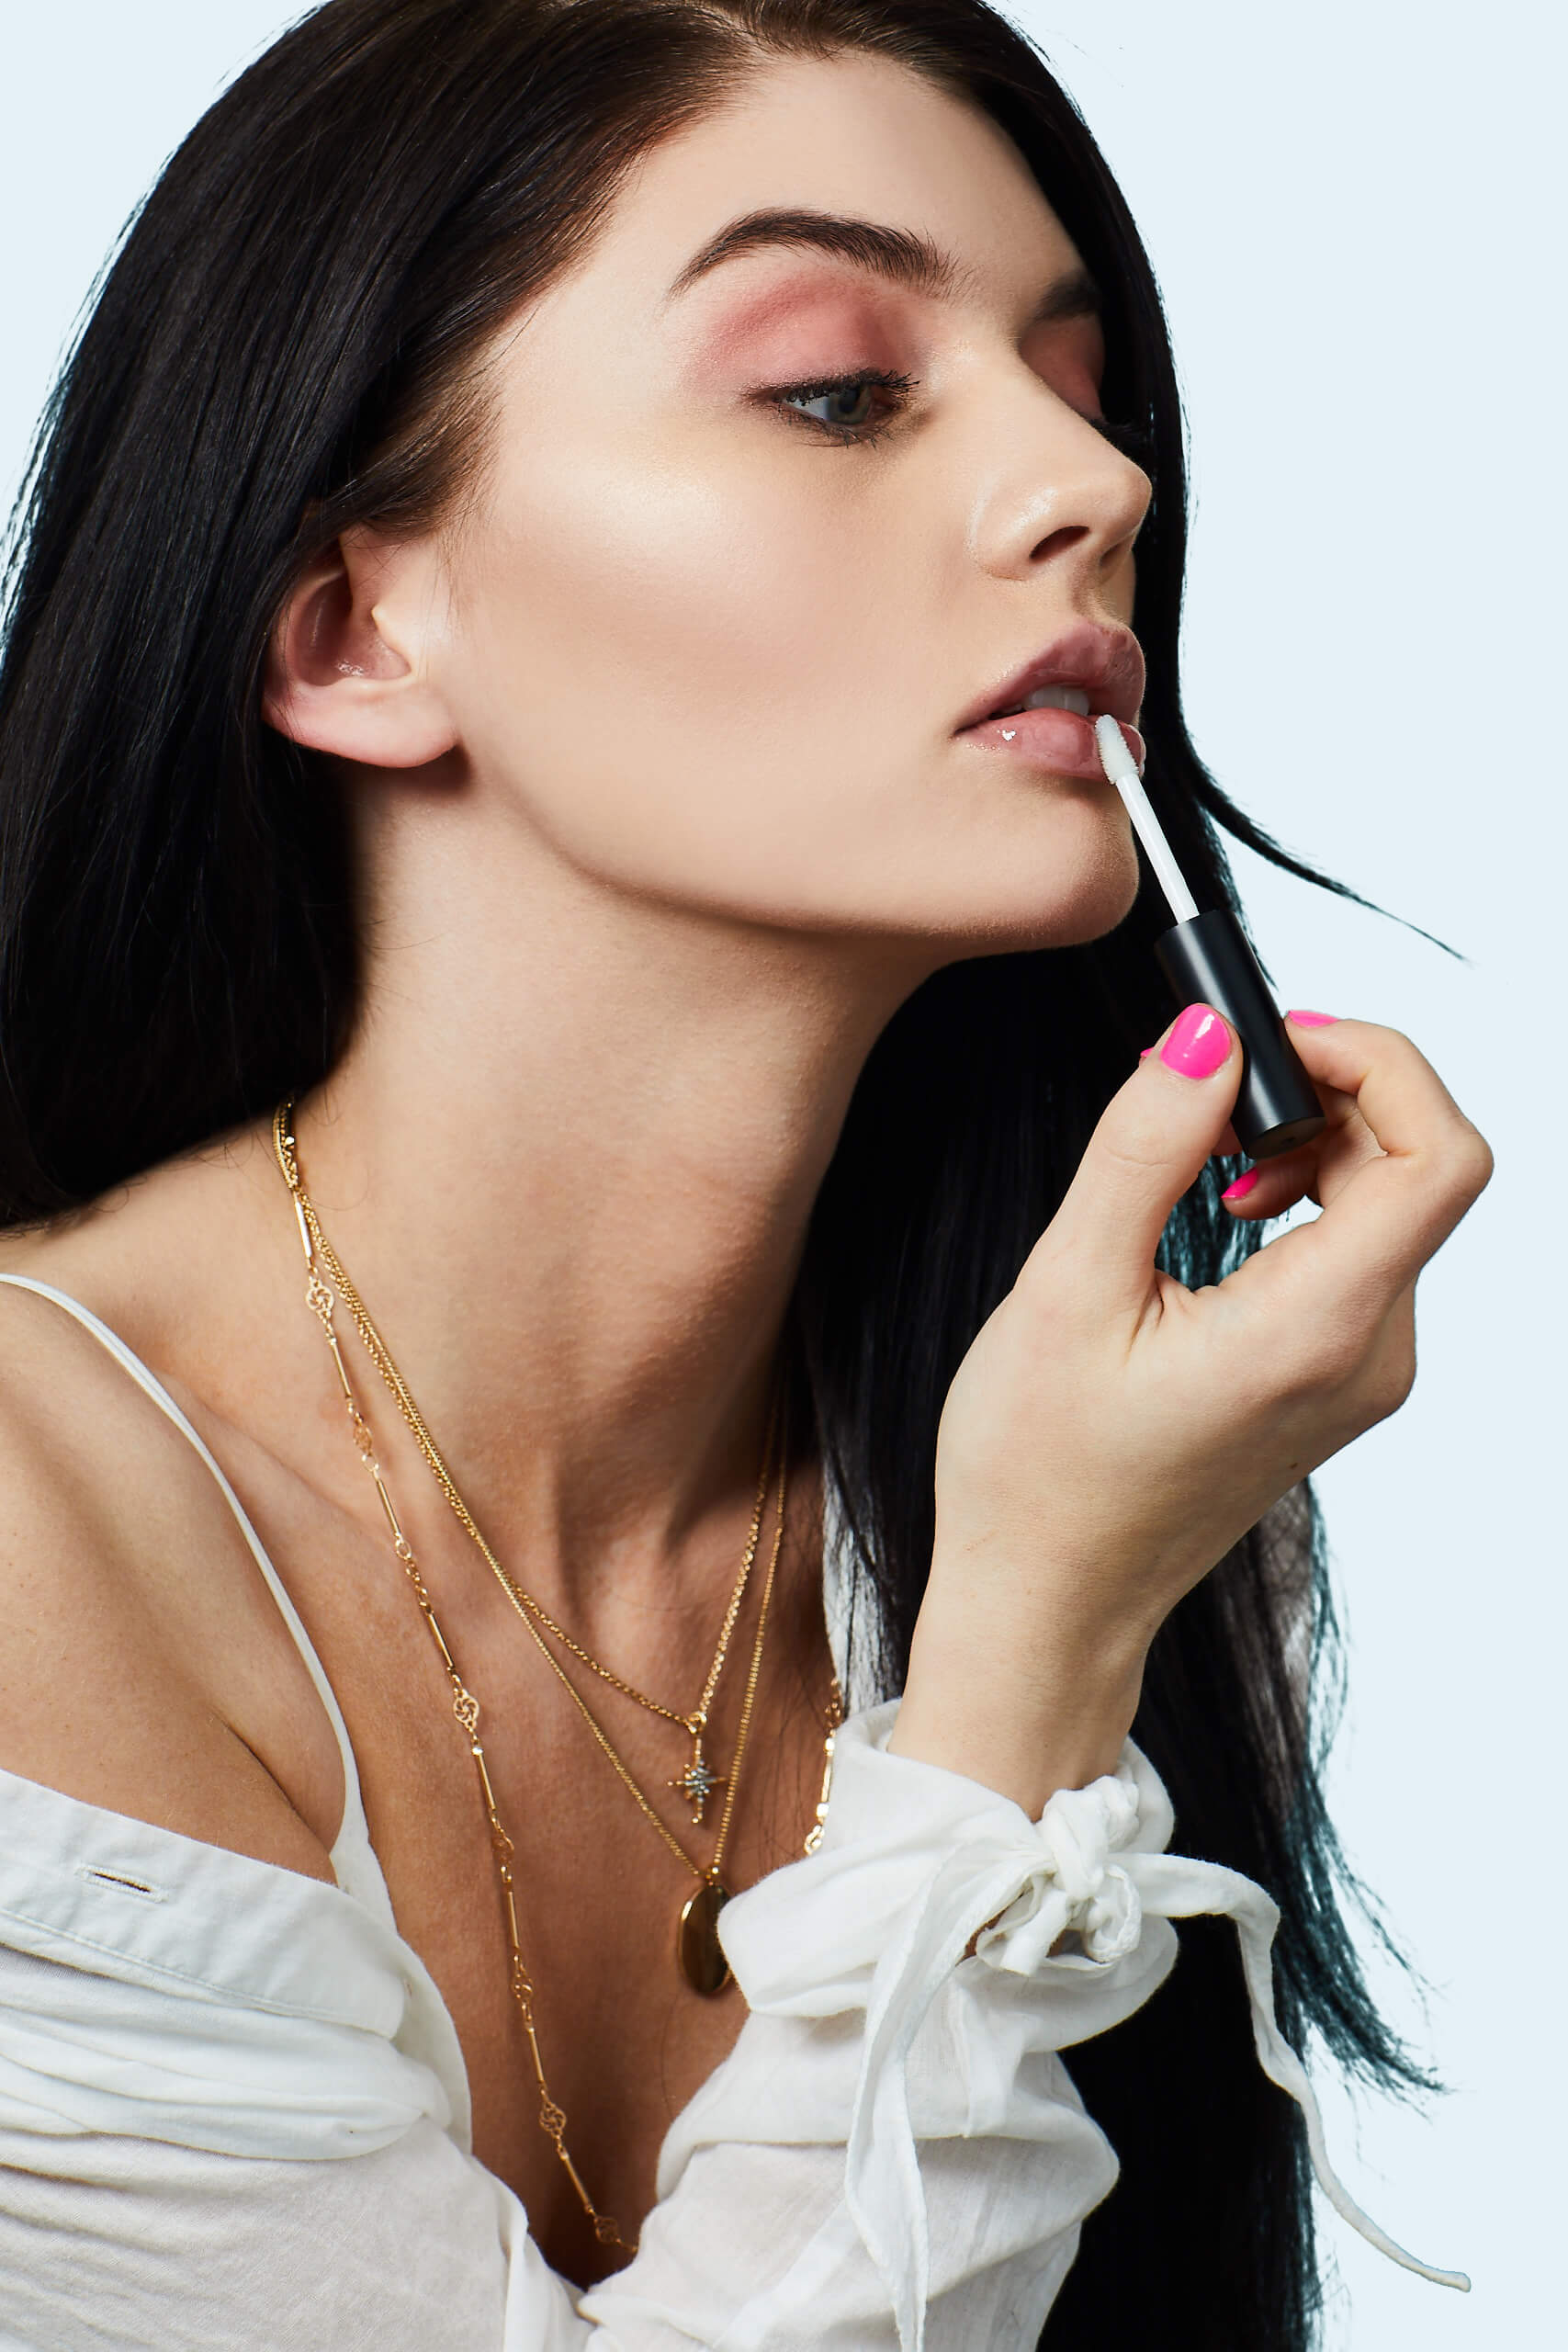
12. Paint on Your Lipstick and Lip Gloss
The order of lip products is what’s most important here. First comes lip liner, then lipstick, and you finish with lip gloss. Maulawizada applies lipstick either right from the bullet or with a lip brush, lining the lips and then filling them in. ILLAMASQUA Antimatter Lipstick in Midnight is the perfect semi-matte, semi-satin lipstick in a true red.
For a fuller pout, add lip gloss on top, right in the middle of your lips. “Make a kiss pout then tap the color to the lips,” Maulawizada says. If you’re going for a more laid-back look, just apply lip gloss all over the lips with the doe-foot applicator.
13. Set Your Makeup
After all that work, you’ll want to set your makeup look with setting powder, setting spray, or both to maintain your best makeup all day. Depending on your skin type and how long you need your makeup to last will determine your formula of choice. Maulawizada likes using a velour puff saturated with setting powder, but you can also use any fluffy brush.
“Work the product into the puff and tap off any access on the back of the hand,” he explains. “Then, roll the puff where you want to set your makeup until you reach a desired matteness.” Think about where you’re most oily or where your makeup creases, such as under your eyes and around your T-zone. The BELLÁPIERRE COSMETICS Banana Setting Powder in Medium has a yellow tone to diminish the look of dark circles and even the skin tone as it creates a crease-proof finish.
Remember it ain't gay if Chico does it, real men are not insecure about their sexuality.
View attachment 1799118View attachment 1799119
If you have made it this far here are some of my other high quality threads and guides:
streetfighting guide
MENA geomaxx guide
prostate stimulation success
6 day cold approach results
incel to tranny pipeline explained


